

Chocolate Mint Leaves
This past week on the Sunday VTE, Evergreen Club administrator, Kathleen showed us how to make chocolate leaves. They look so fancy, but they're really easy to make!
They are a great way to decorate a cake or dress up the presentation of any cold dessert dish. And it can be a fun activity to do with your kids or grandkids.
Prep:
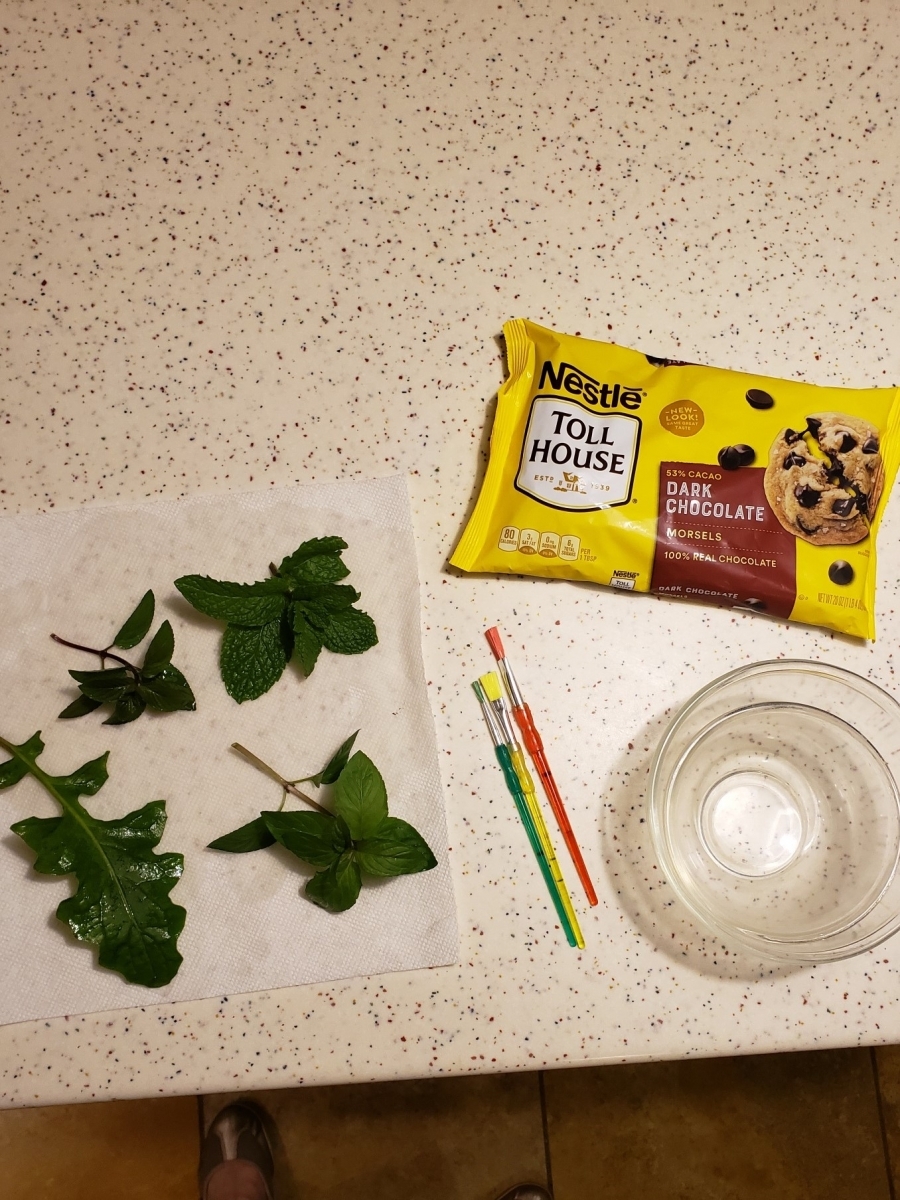
This is everything you need: some leaves, chocolate chips, paint brushes you don't really care about, waxed paper, tweezers (yes, tweezers), two glass bowls that nest, and a drying / cooling rack.
What kind of leaves?
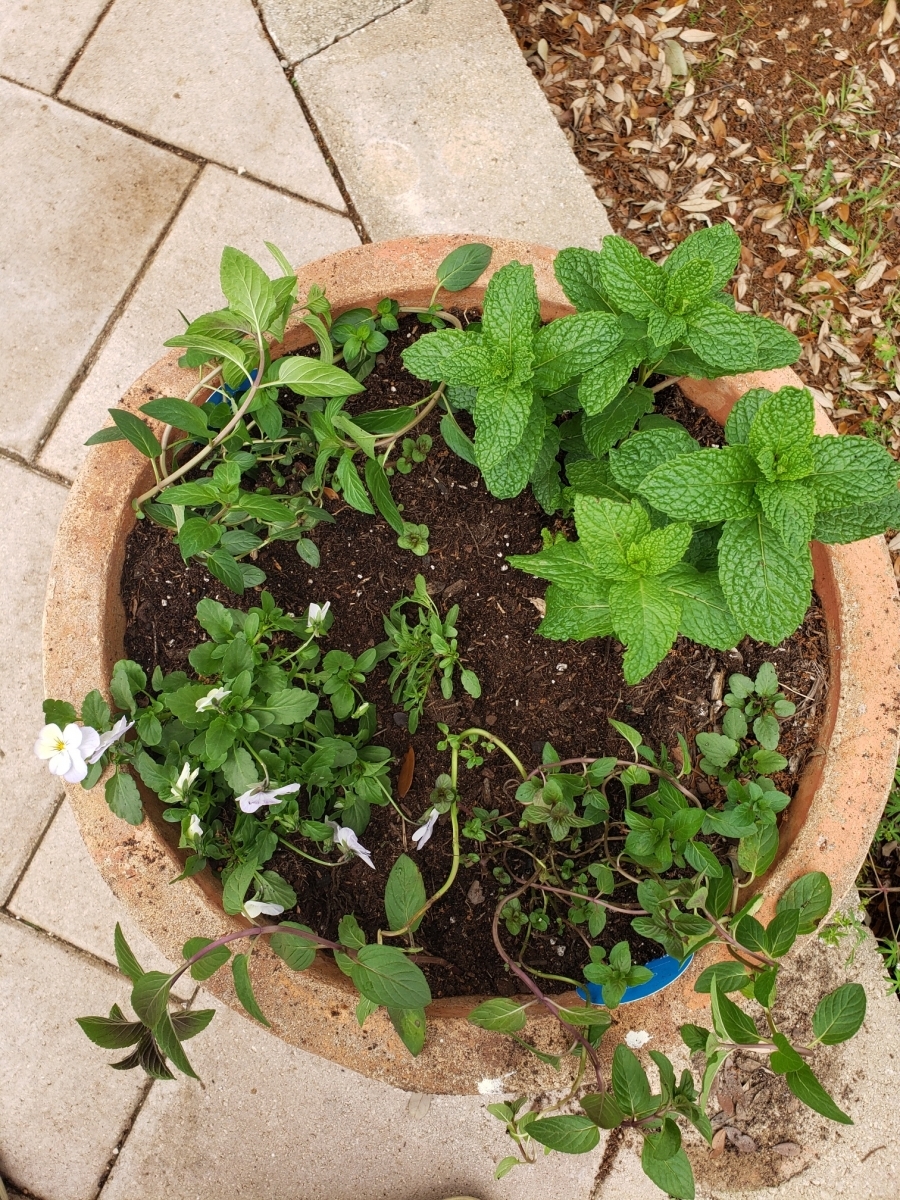
Ideally, small ones. Small, but sturdy. Kathleen used the biggest of the inherently small mint leaves from her garden. Avoid super delicate leaves because you want to be able to pull the leaf off the chocolate in one piece rather than having it shred. You'll see what I mean later.
The chocolate will pick up a slight hint of the flavor of whatever leaf, so make sure it's something that tastes good. And isn't poisonous. Duh.
The most obvious choice is mint. Spearmint seems to be a good candidate. Choose leaves that are sturdy with plenty of pronounced veining... not unlike my legs.
Be sure to get leaves without holes. Holes in the leaves will result in holes in the chocolate. And nobody wants holes in their chocolate.
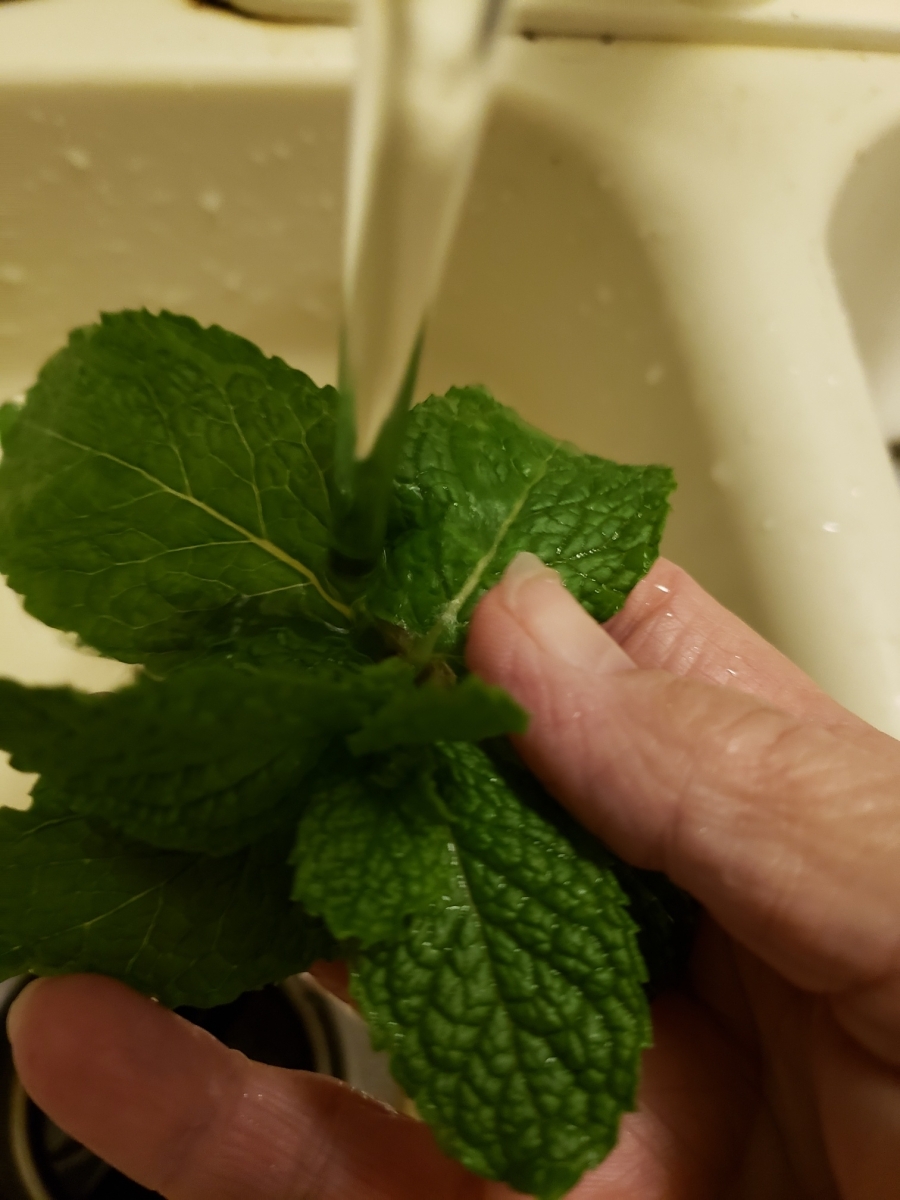
Wash the leaves well. Dry them on a paper towel to ensure that the chocolate sticks.
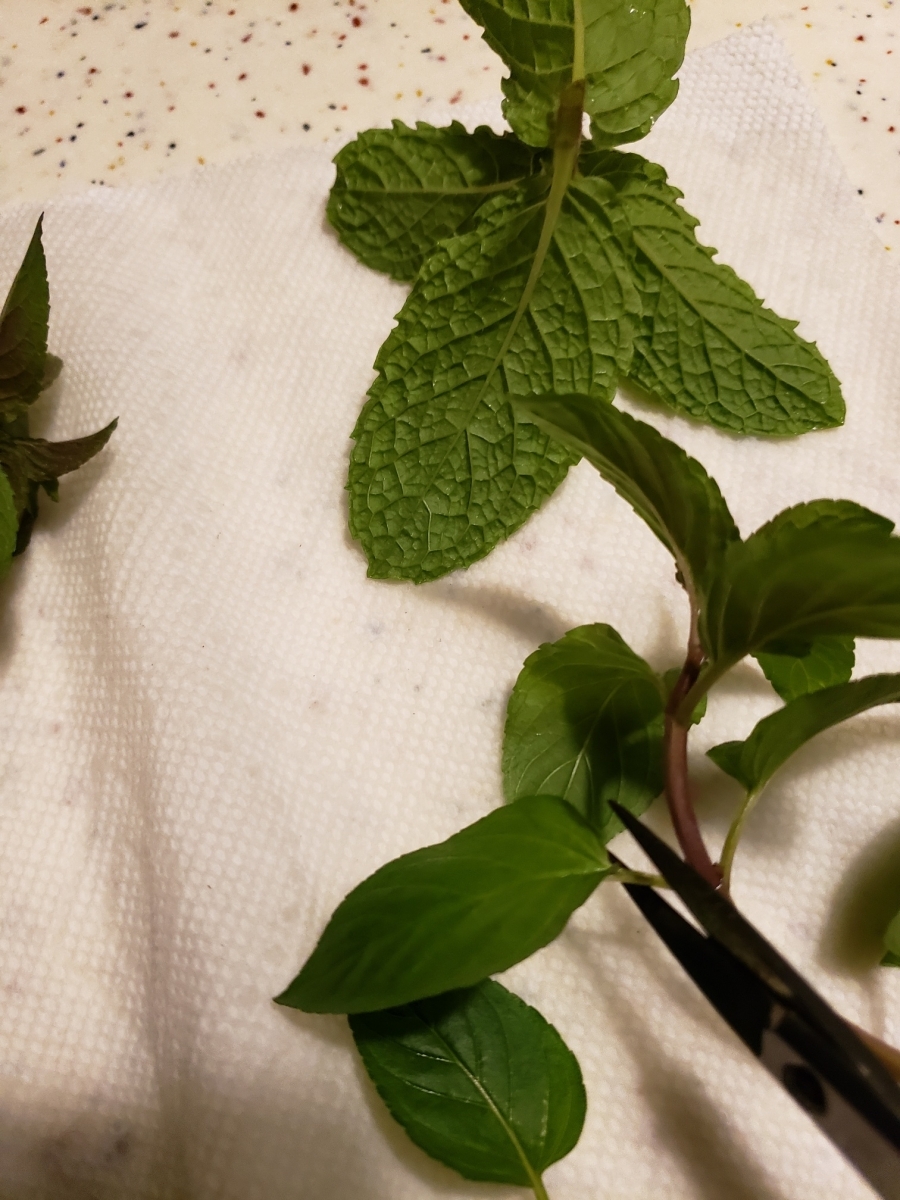
Trim
Cut the leaves you want to use (the big pretty ones) off the stem and discard the rest.
Heat & Melt
Next, pour a handful of chocolate chips into the smaller of the two glass bowls and microwave them for 30 seconds. They should not liquify completely at this point.
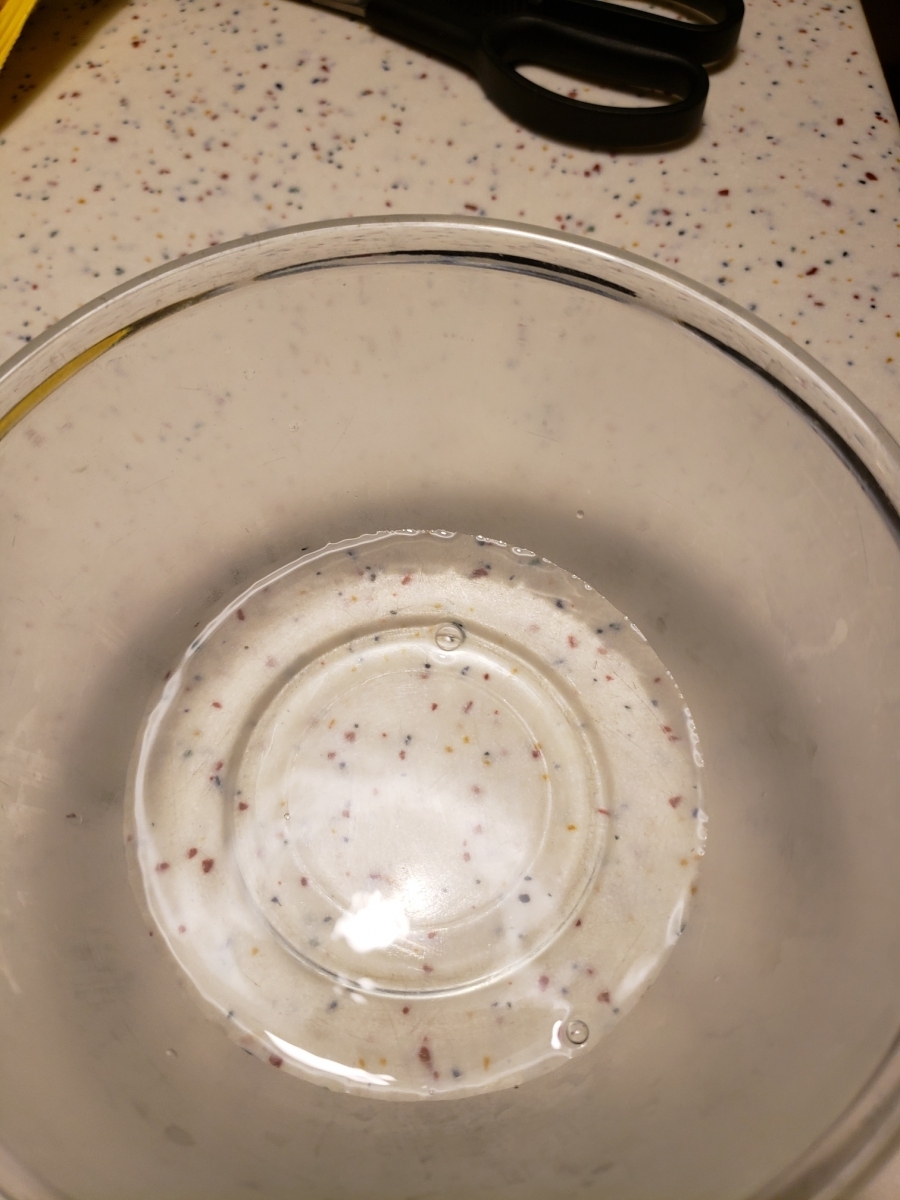
Meanwhile, put on a little water to boil. Not much - just enough to fill the larger glass bowl about 1/3 of the way up. You'll be setting the smaller bowl in the larger one and you don't want it to overflow.
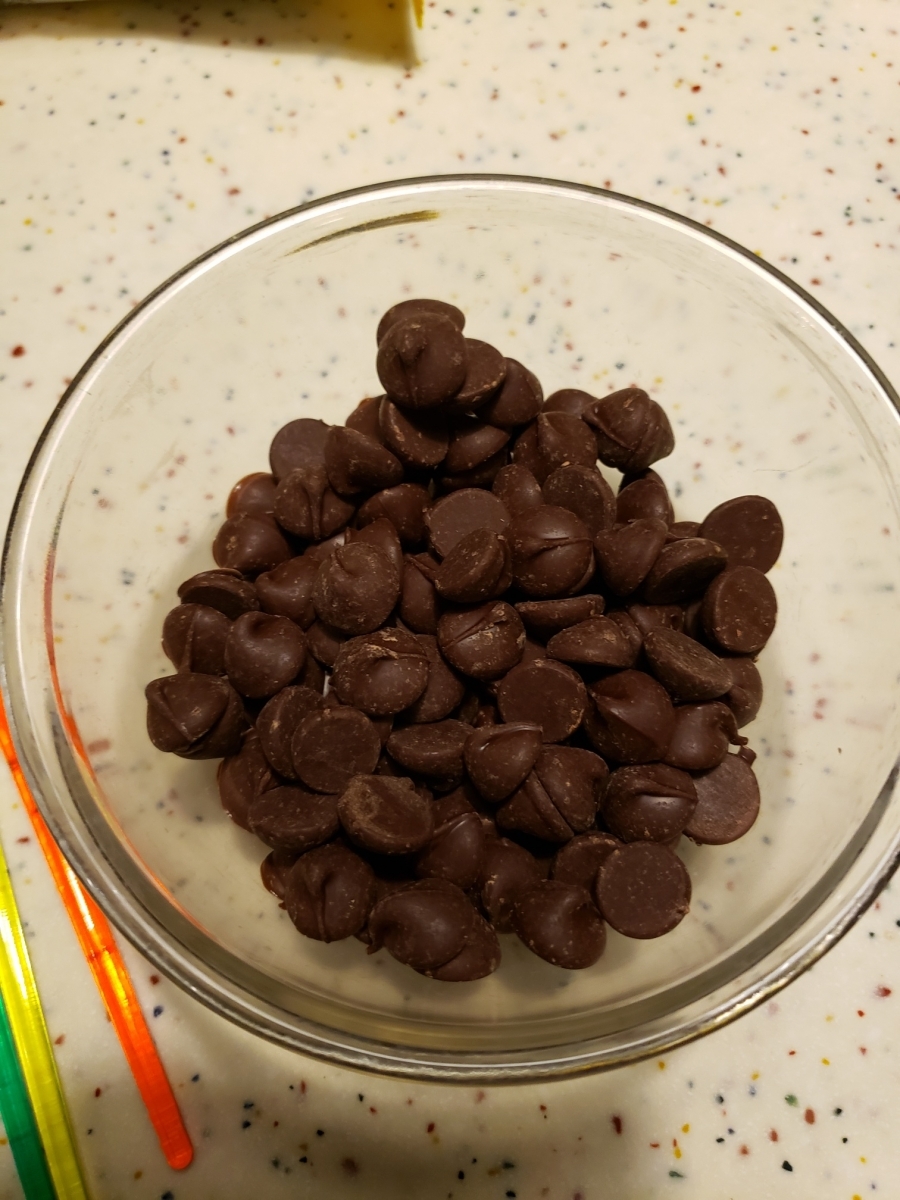
When you take the bowl of chocolate chips out of the microwave, you'll notice that some of the chips look shiny and a bit melty, but still intact. That's good. Give the chocolate chips a stir and you'll immediately see them start to melt.
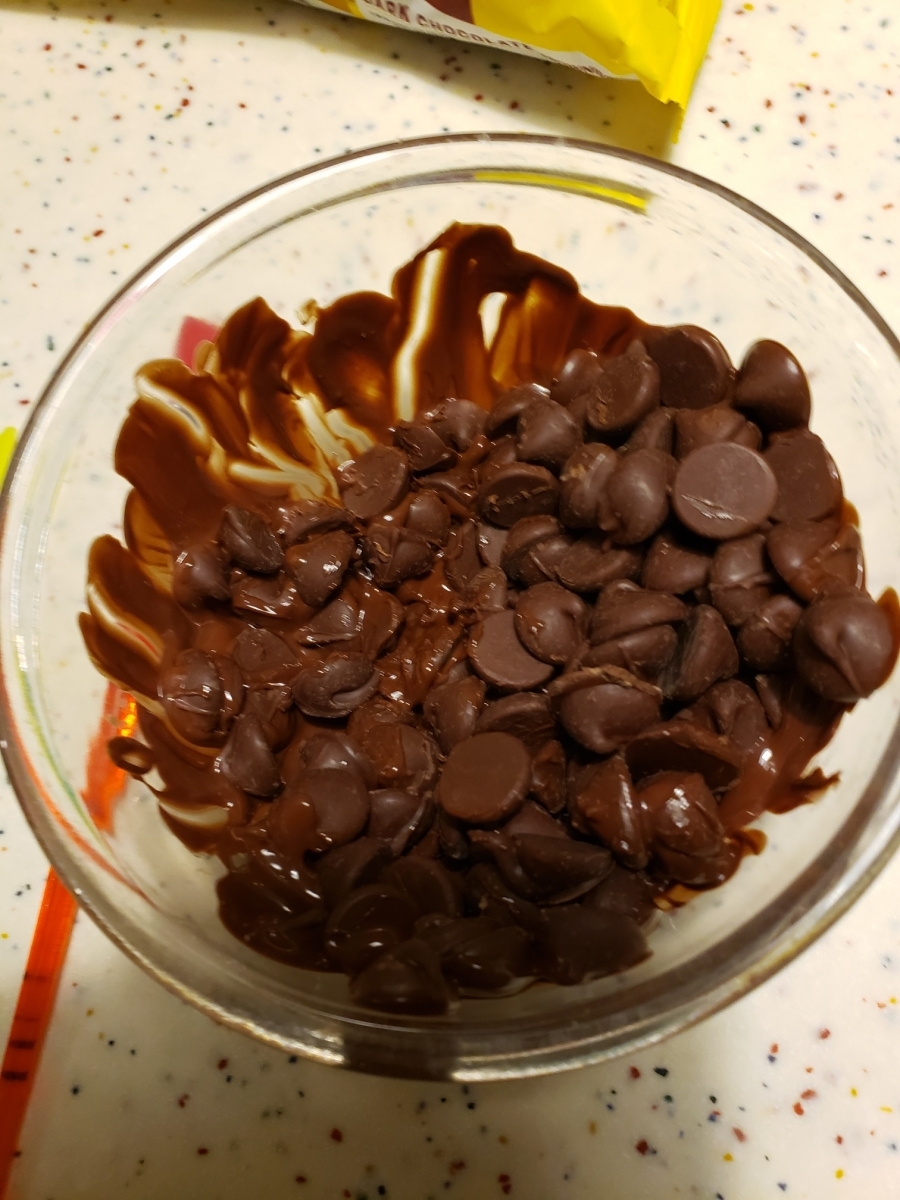
Now pour that hot water into the larger glass bowl so that it fills about 1/3 of the way up. Set the bowl of chocolate chips into the bowl of hot water. Do not let any water get into the bowl with the chocolate chips!
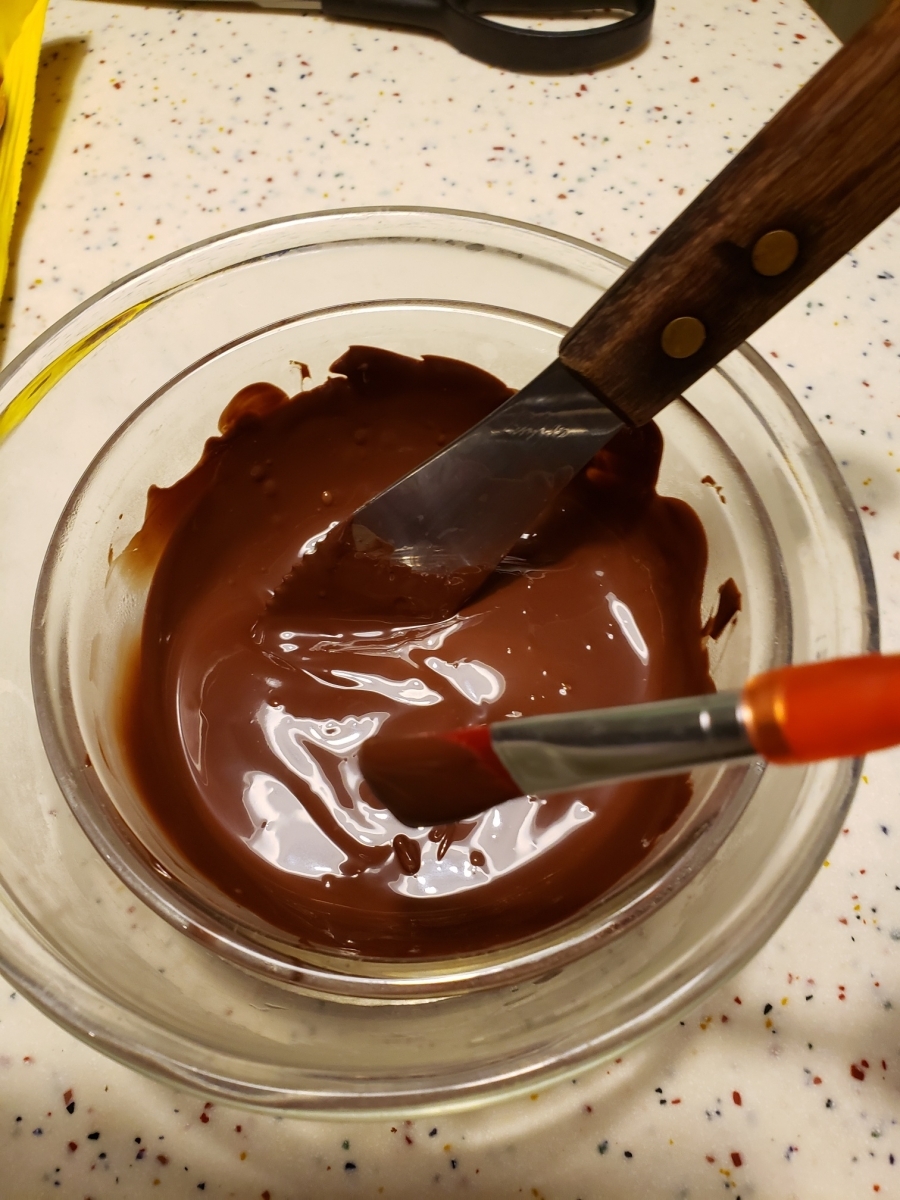
Stir
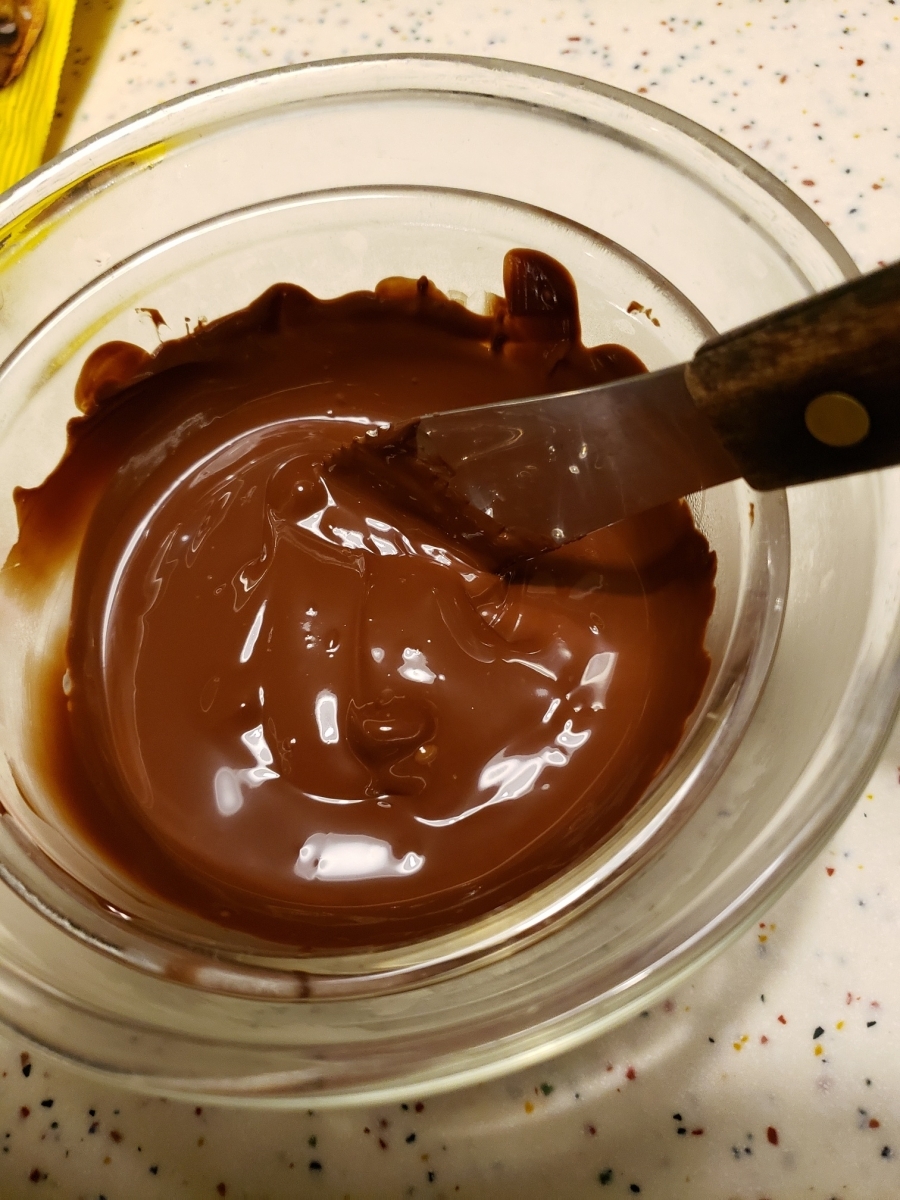
Stir the rest of the way until the chocolate chips are all melted and become smooth.
Oh, hello, beautiful.
Paint
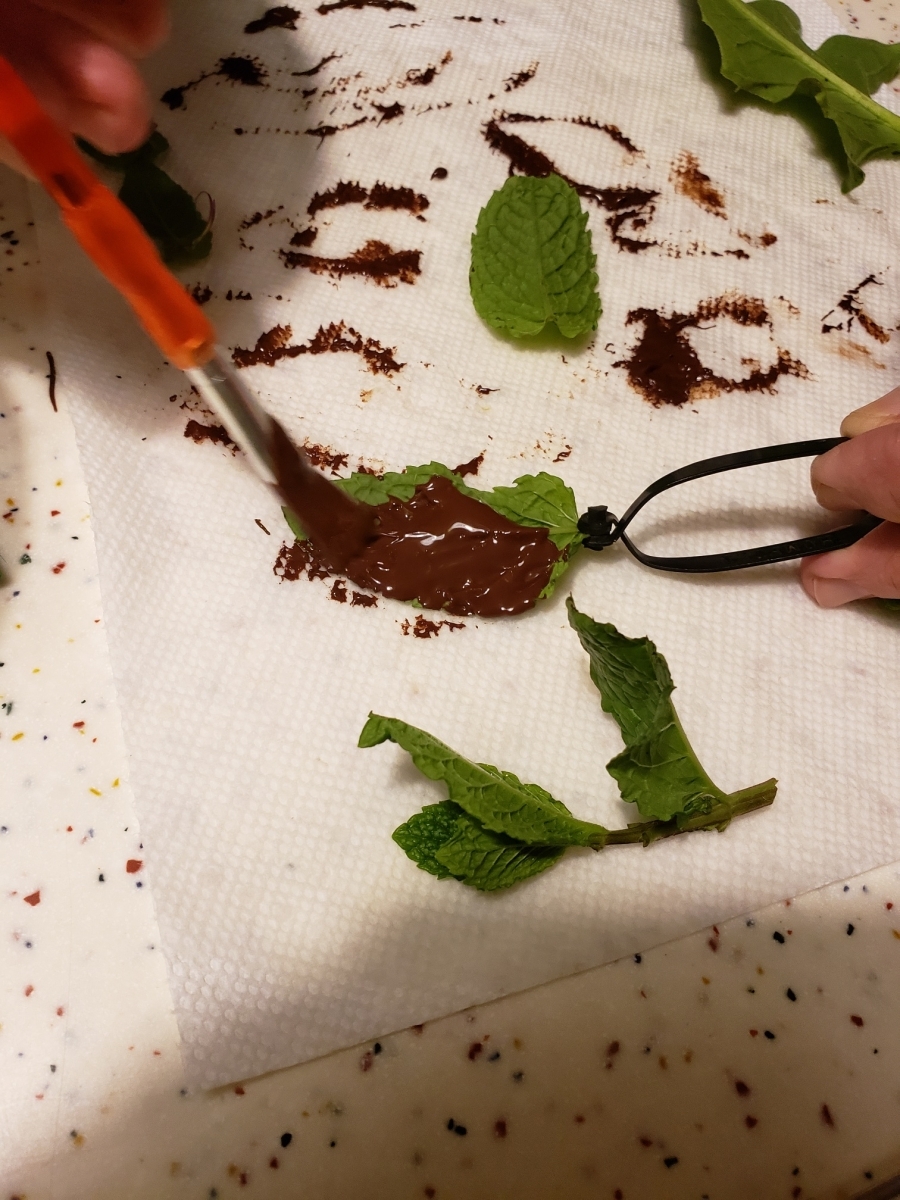
Artists, start your brushes! Dip the paint brush into the melted chocolate and start to paint. Seems like it works best to paint the underside of the leaves because the veins tend to be more pronounced there.
And be sure to use enough chocolate. Don't be shy! Making the layer too thin will cause the chocolate to break when peeling the leaf off.
This can be tricky, messy business so I recommend using waxed paper or a paper towel on your workspace.
Use tweezers to hold the little leaf in place while you paint it with sweet, blessed chocolate. These funky little tweezers in the photo are actually used to tie flies for fly fishing. It's okay to be resourceful.
Chill out
Set the painted leaf on a drying / cooling rack to cool. Depending what look you want, you can even drape the leaves over an unused paint brush or pencil to get a nice curve. Once all your leaves are painted, set the rack in the fridge to cool for about 10 minutes.
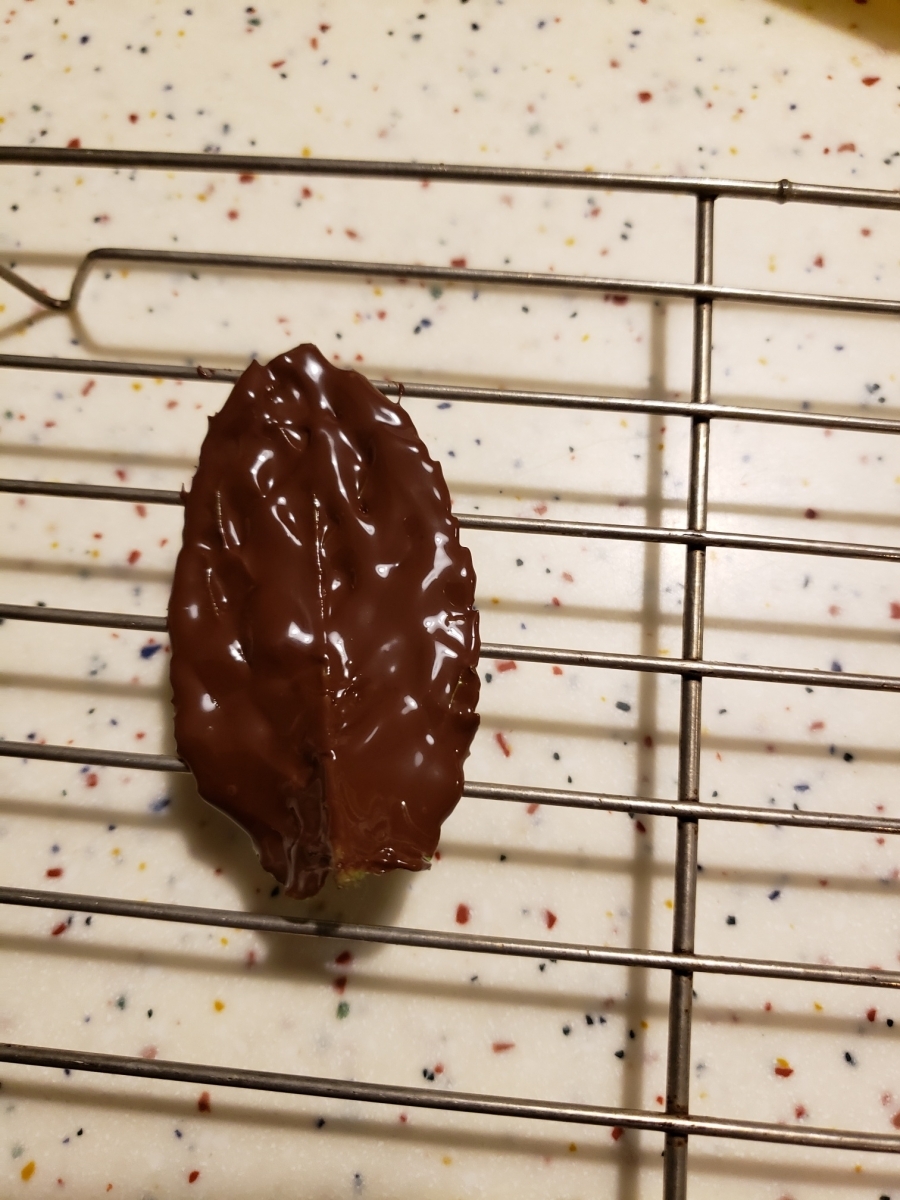
After the chocolate has cooled in the refrigerator it'll be firm enough to remove the leaf. If it's still tacky to the touch, put it back in the fridge for another five minutes and wait for it to harden up a bit more.
Peel
When you remove the leaf, go slowly and gently, as the chocolate is still quite thin and easy to break. Start at the end with the stem and move out toward the pointy tip of the leaf. Do bear in mind that you will not want to grip the chocolate very long in one place because it'll melt again. So you can try using the tweezers to limit the time the chocolate is in contact with the warmth of your hands.
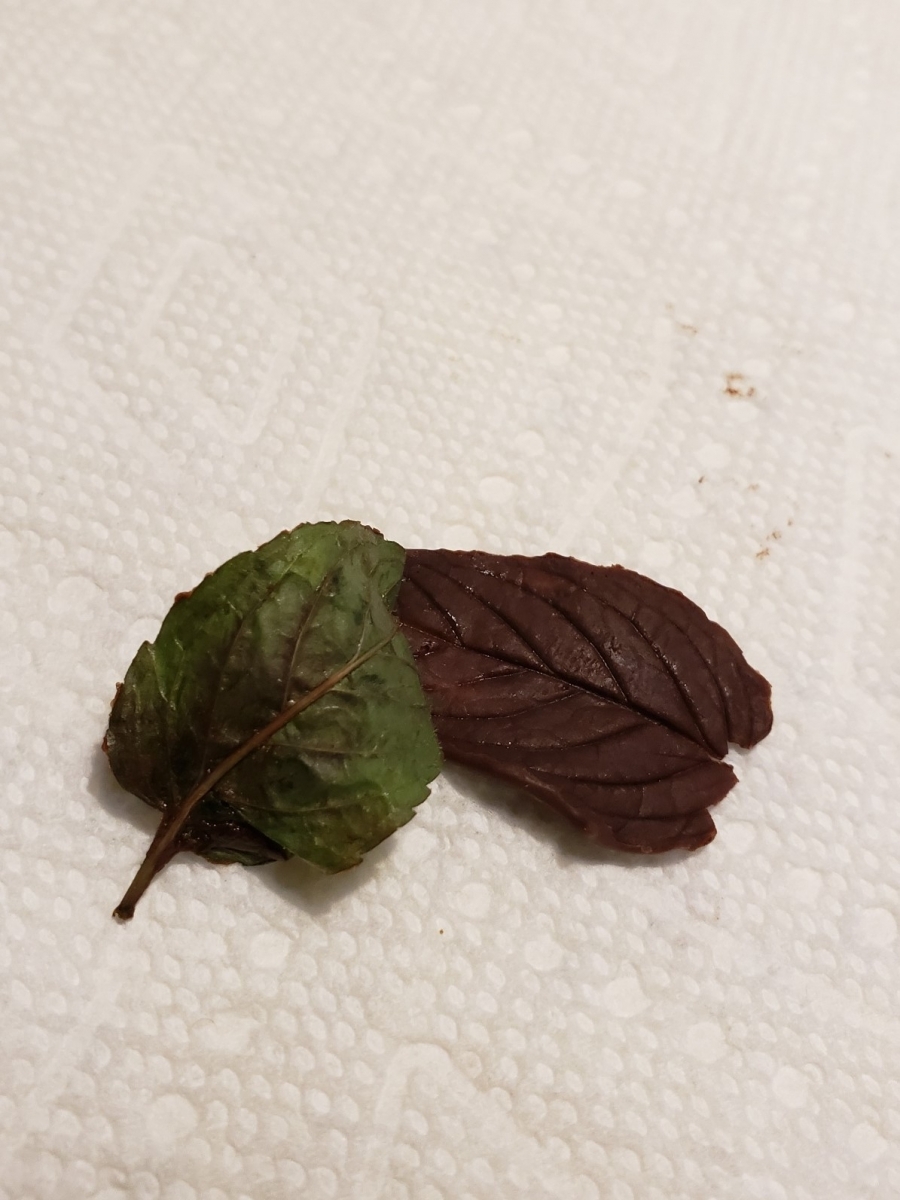
Admire
Would you look at that! Amazing, right?! You're left with darling little imprints of the leaf shape and veins. It can be a great way to dress up any dessert. Even a basic bowl of ice cream can go from humble dessert to classy presentation with a few chocolate leaves.
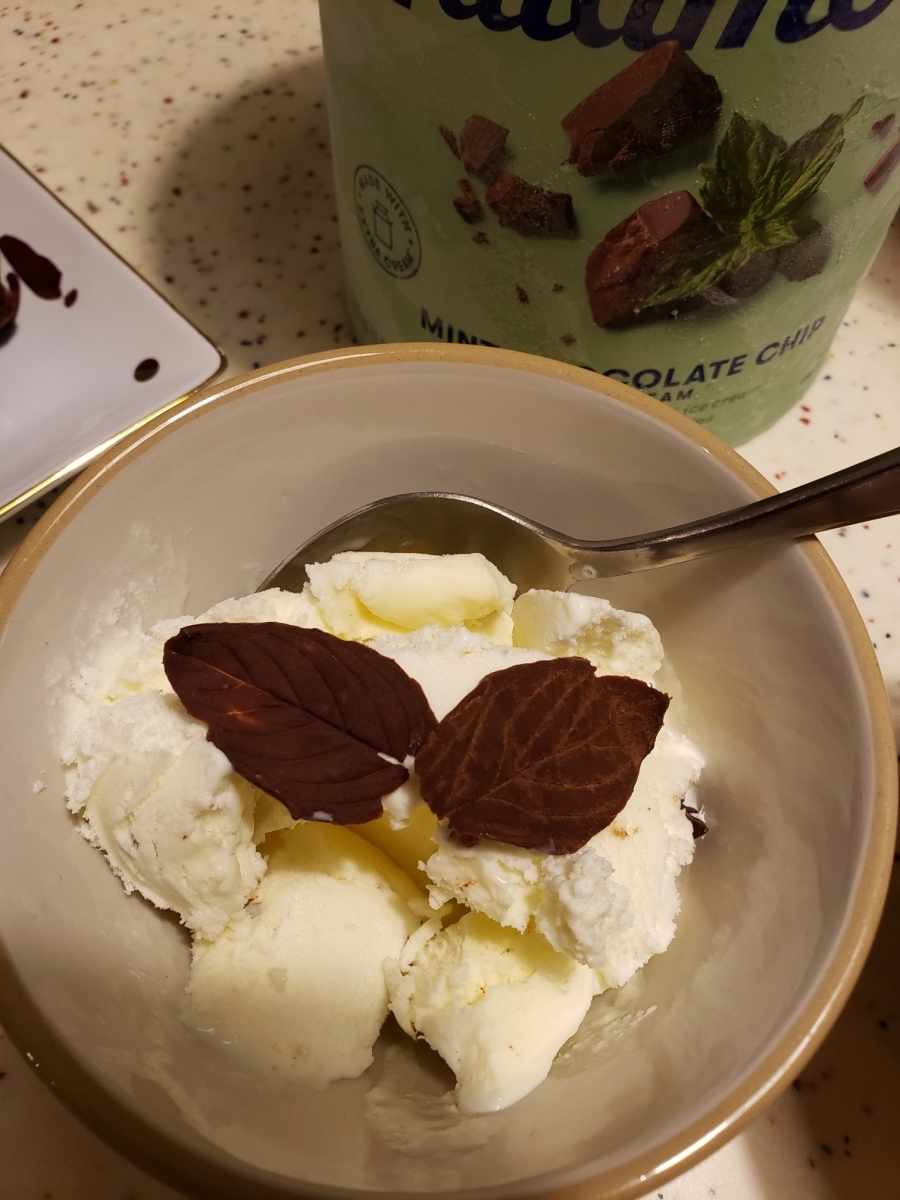
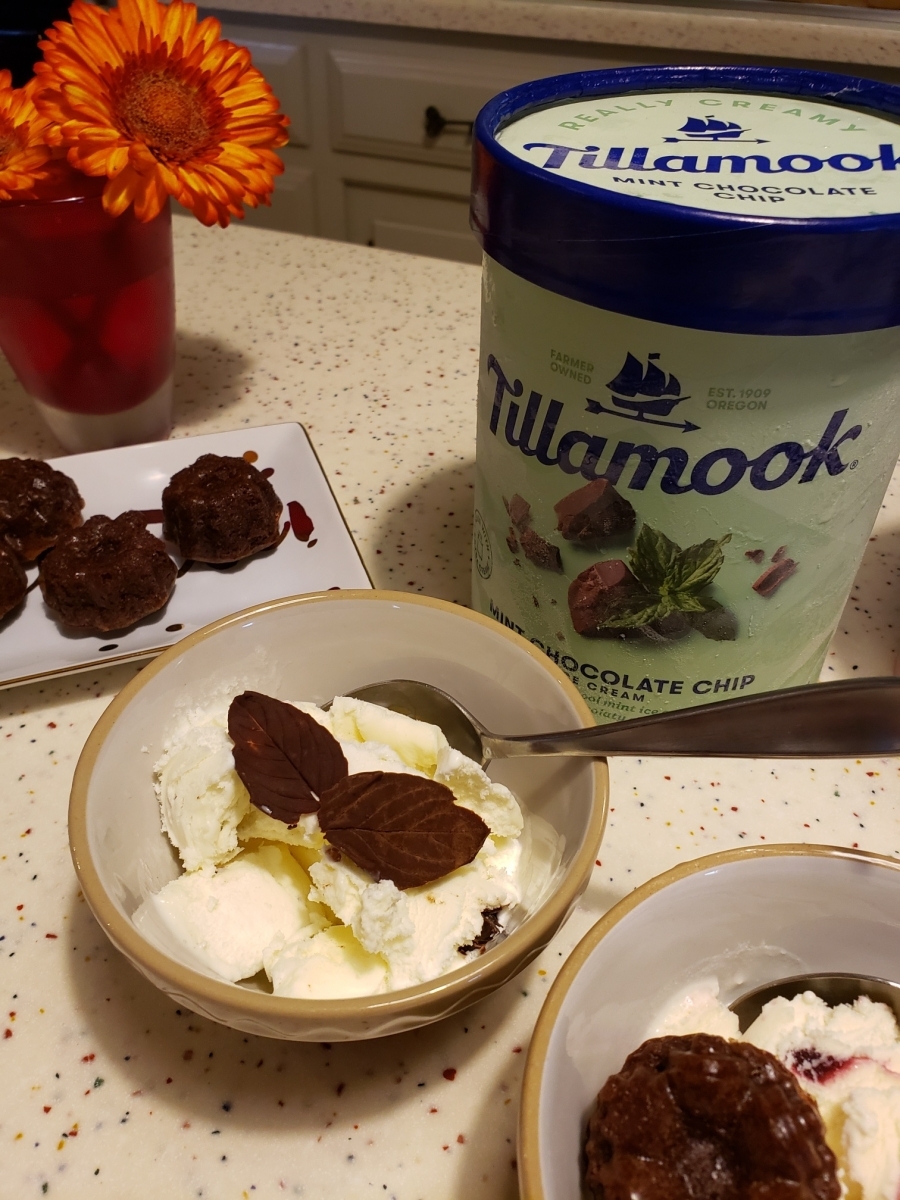
Enjoy!
Let us know in the comments below if you tried to make chocolate leaves and how it went. How did you serve it up? Was it on ice cream? Was it adorning a cheesecake? Did they survive to the decorating stage at all, or were they "snacked" away before their decorative debut? We'd love to hear about it. And if you have a fun recipe you'd like to share with the group on a future VTE, please get in touch with Kathleen. We'd all love to see what you've made and how you made it!
Join us next Sunday on our next Virtual Travel Experience (VTE) for more fun ideas! We share recipes from our Evergreen members, travel tips and slide shows, and socialize with the members of this unique and wonderful travel club for awesome people over 50.