
Make Your Own Light Switch Covers
A fun and colorful craft for all ages, making your own decorative light switch covers is a great way to add some creativity to your home. They also make wonderful gifts! Meagan K. has been creating them for about eight years, and she shared her "how-to's" in an Evergreen VTE presentation.
You can view the steps below, or watch the full video presentation on the Evergreen YouTube channel here: https://youtu.be/55GmKO61a7E
Step 1 - Supplies
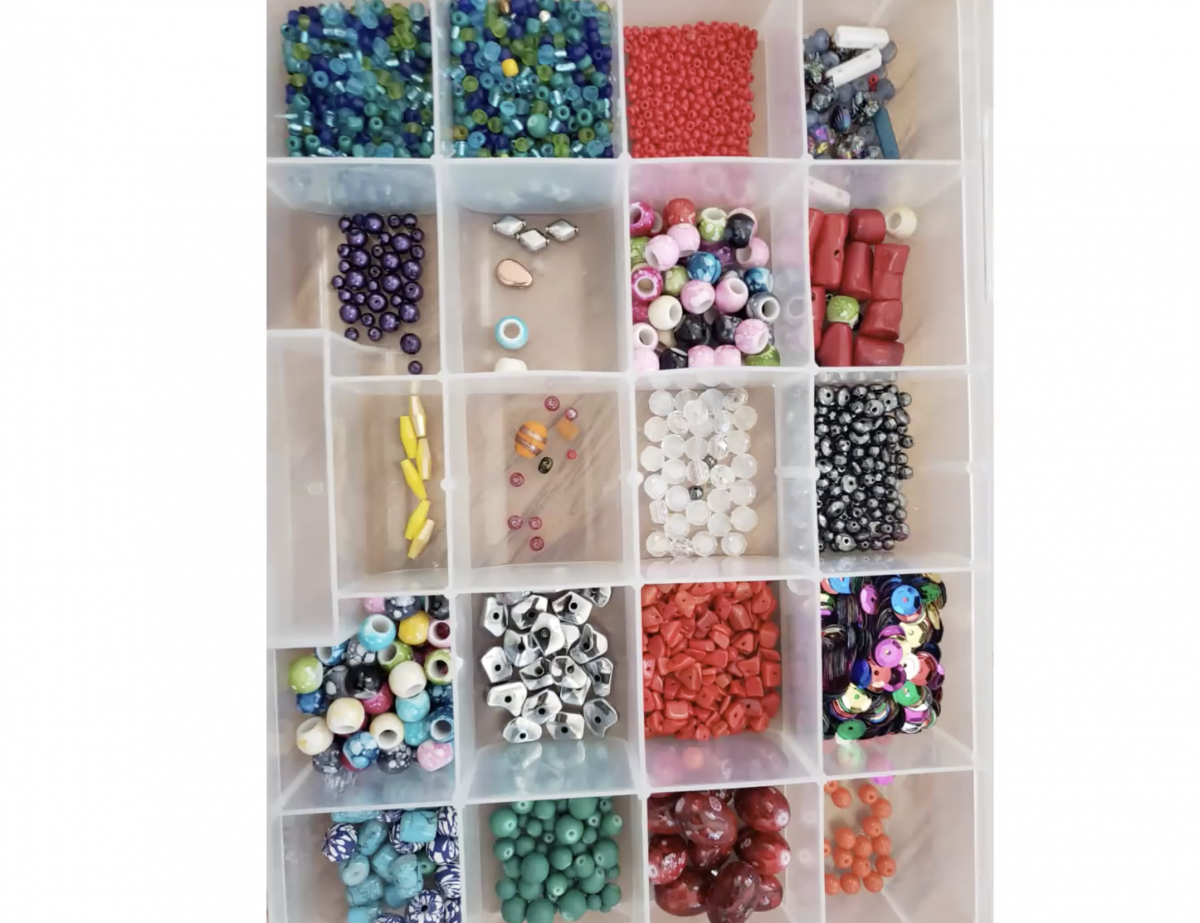
Sourcing your materials is one of the most fun parts, and there are plenty of options! Browse your local craft supply stores for beads of whatever size, shape, and color you would like to use. They can be made of plastic, glass, ceramic, or other materials. Look for compartmentalized trays of beads for easy storage!
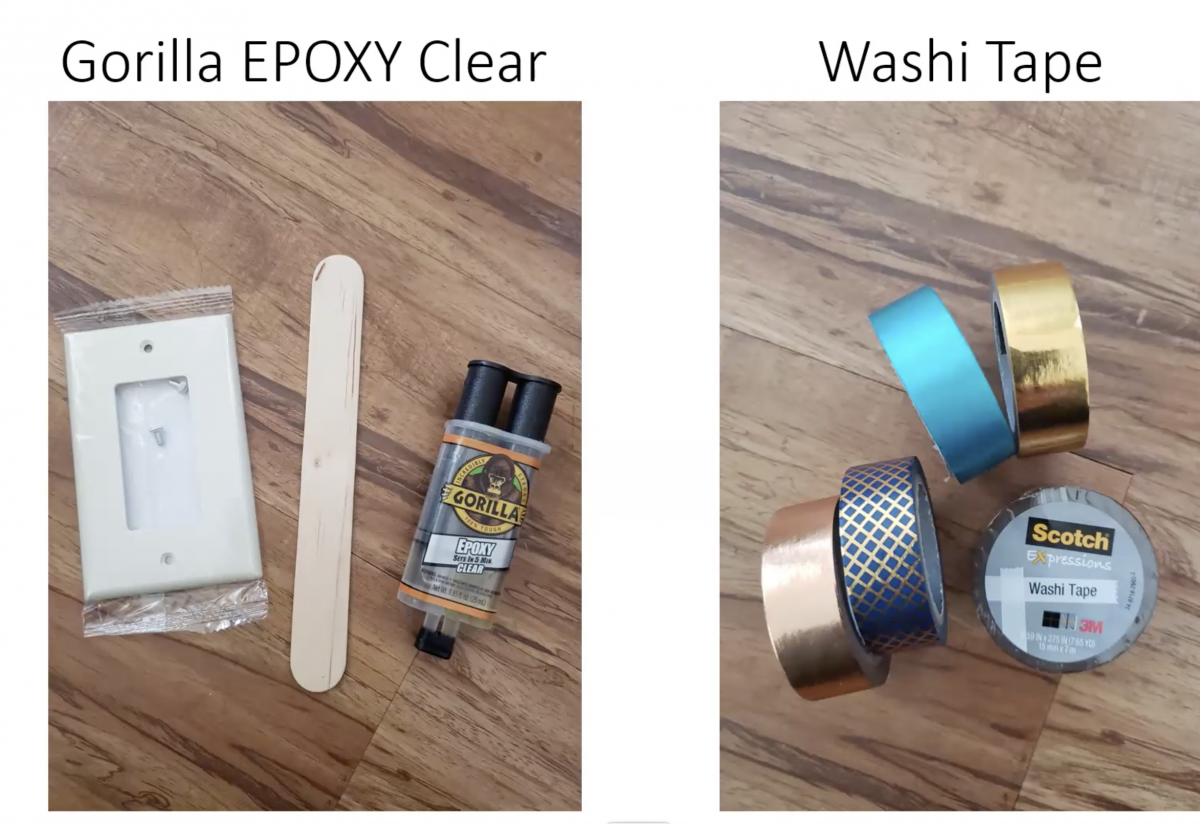
Next, you will need a clear epoxy (Meagan uses Gorilla brand), and some colored Washi Tape (which can be found where you buy Scotch tape). This tape will be used to "outline" your light switch cover, so pick a color that coordinates with your beads. It's also helpful to have a popsicle stick handy, for mixing and applying your epoxy.
For your light switch cover, you can use one that is already in your home, or you can find one at many department or hardware stores. You can use single or double switch covers.
Step 2 - Prepping Your Cover
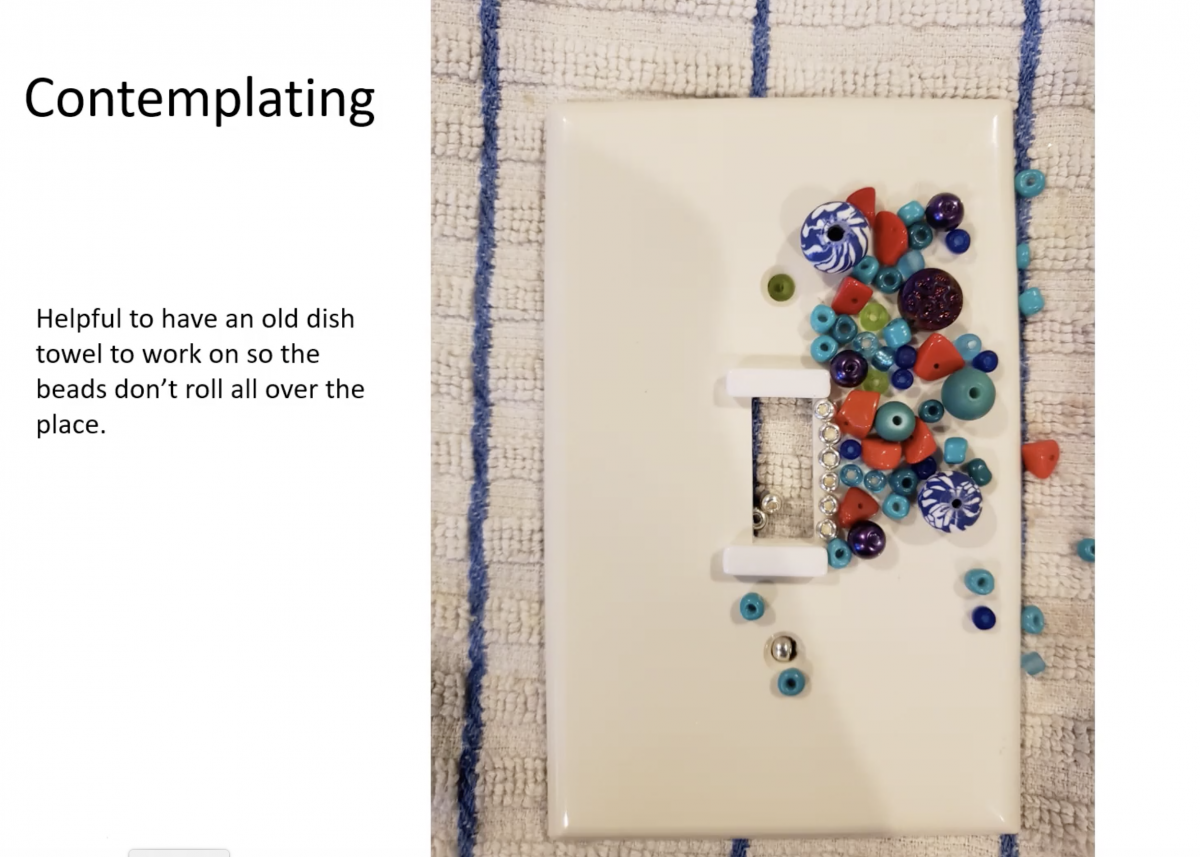
Before you start gluing, it's helpful to take some time to conceptualize your design. Think about the size of your cover, and what colors or patterns would look best to match the decor of your room. You can lay out some of your beads on the cover to get a sense of where different colors should go once you start gluing them down.
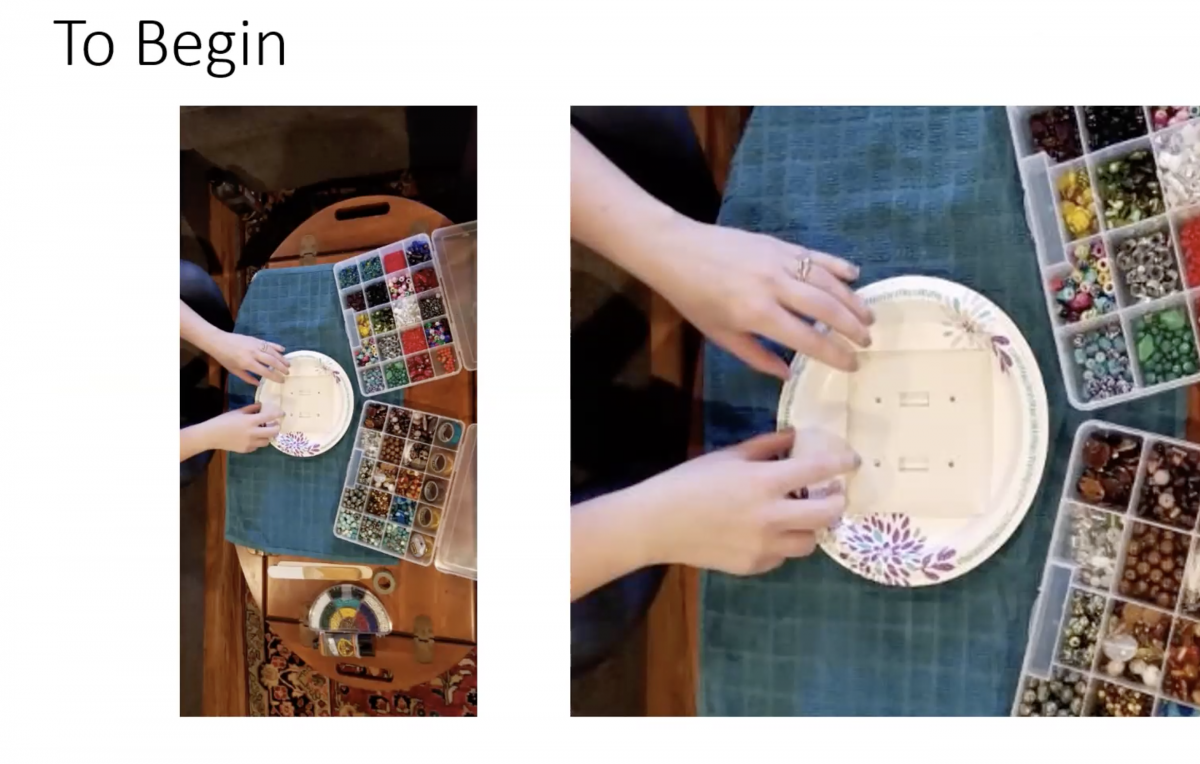
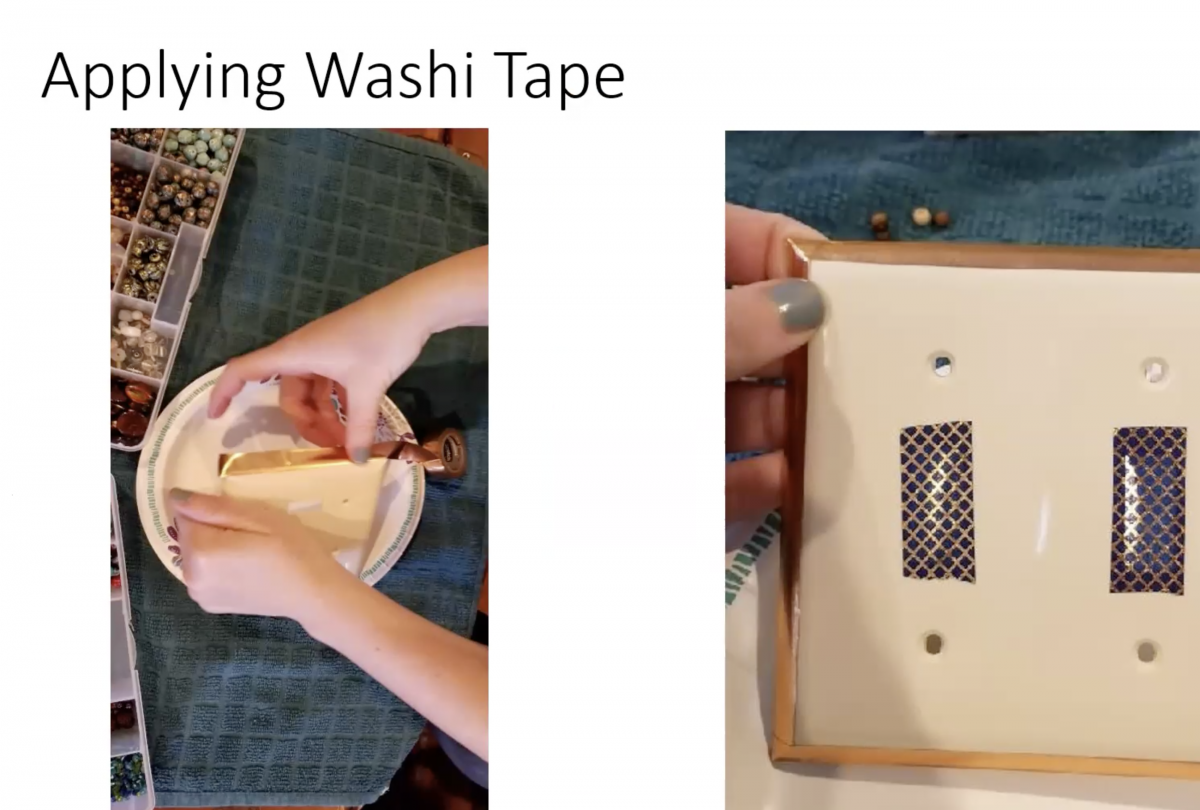
Next, take your Washi Tape and tape around the outside border of your switch cover. This helps cover any white space on the very edges that may be difficult to attach beads to. It will also help hold your bead design in place.
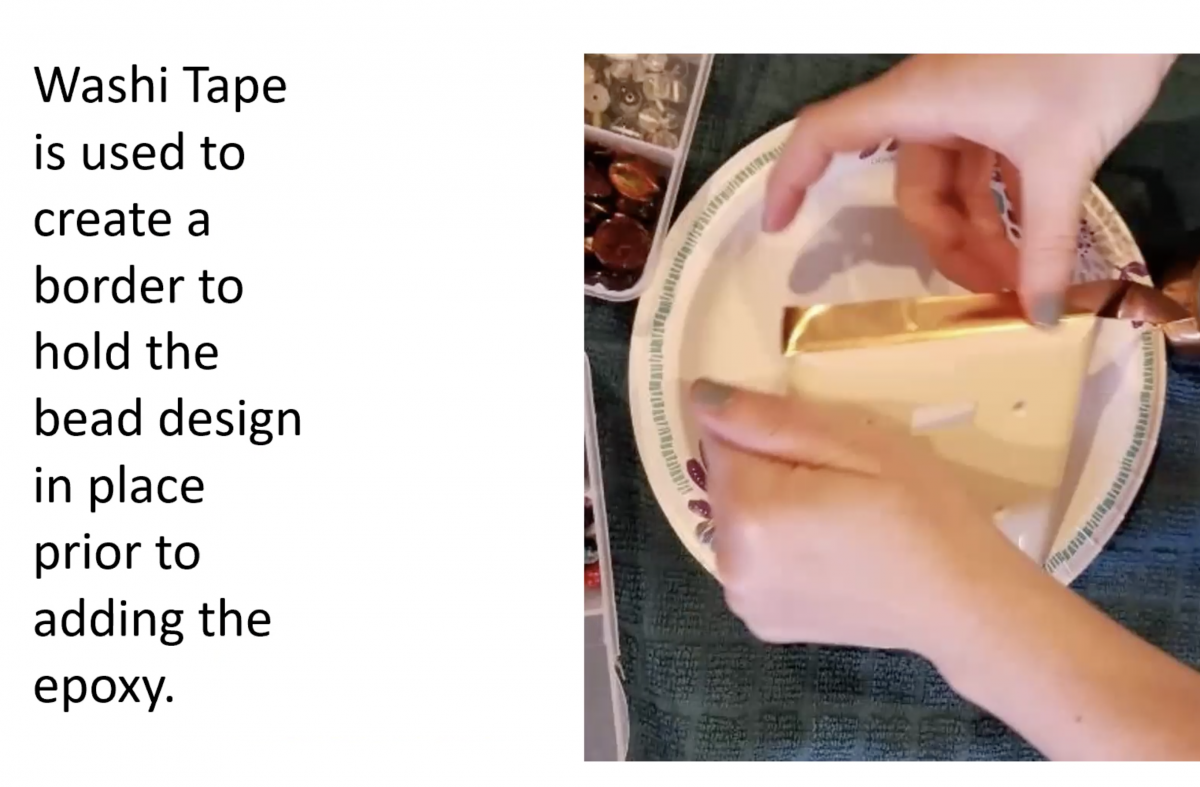
You should also apply Washi Tape on top of any switch openings to keep epoxy or beads from getting too close to where the actual switch will be - you want to be able to actually use your light switch!
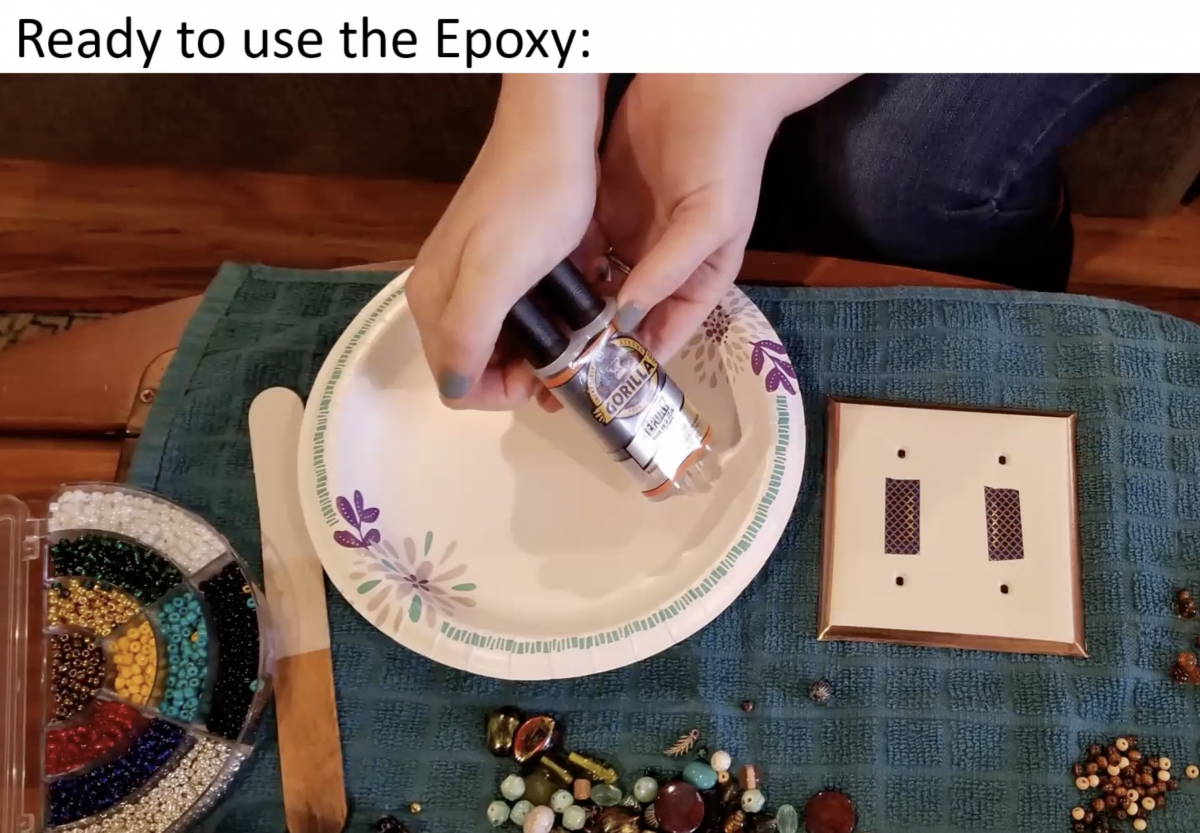
Step 3 - Mix Epoxy
Once your cover is taped and ready to go, it's time to mix your epoxy. Following the instructions on your glue bottle, use a popsicle stick to mix.
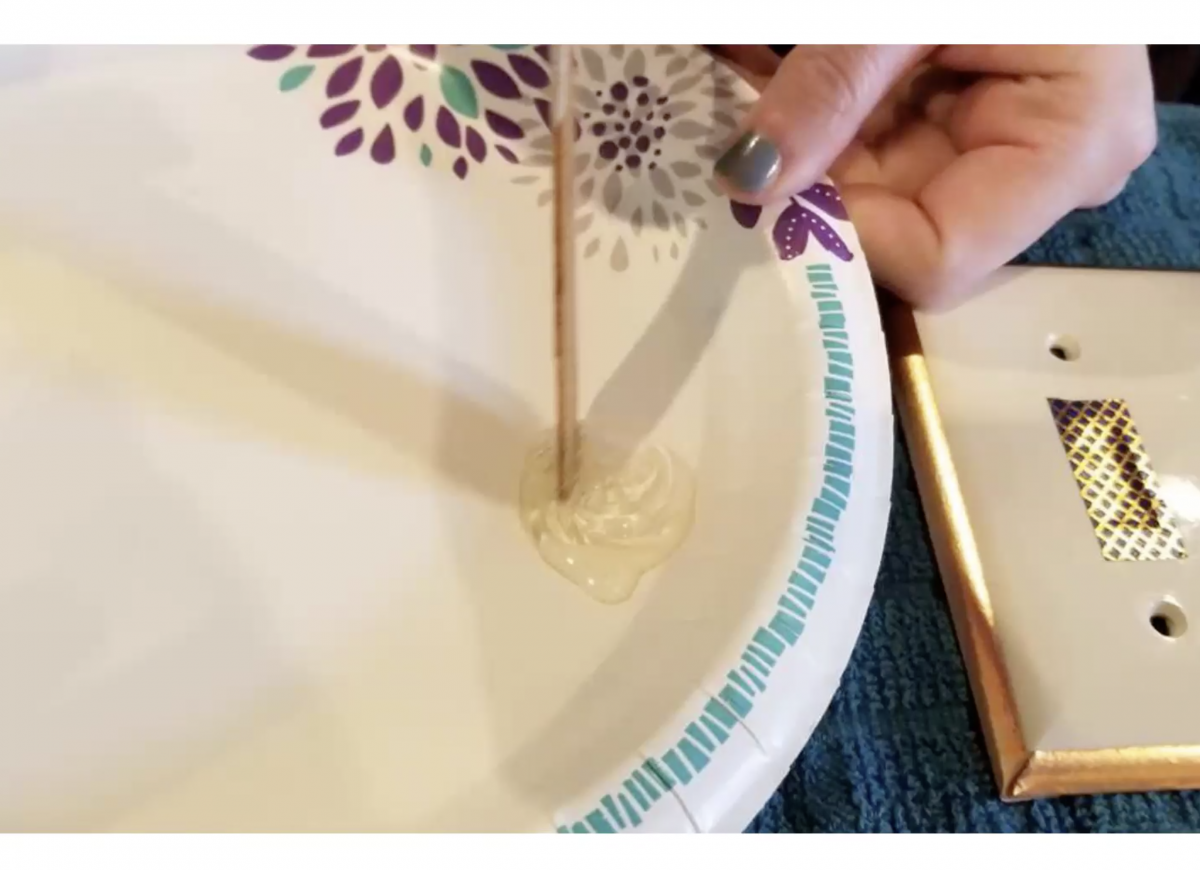
Step 4 - Glue Your Beads
It's time to start gluing! Take your popsicle stick and spread epoxy on a small section of your switch cover (it's helpful to work in small sections, because epoxy will dry quickly). Carefully place your beads onto the wet epoxy using either your hands or tweezers.
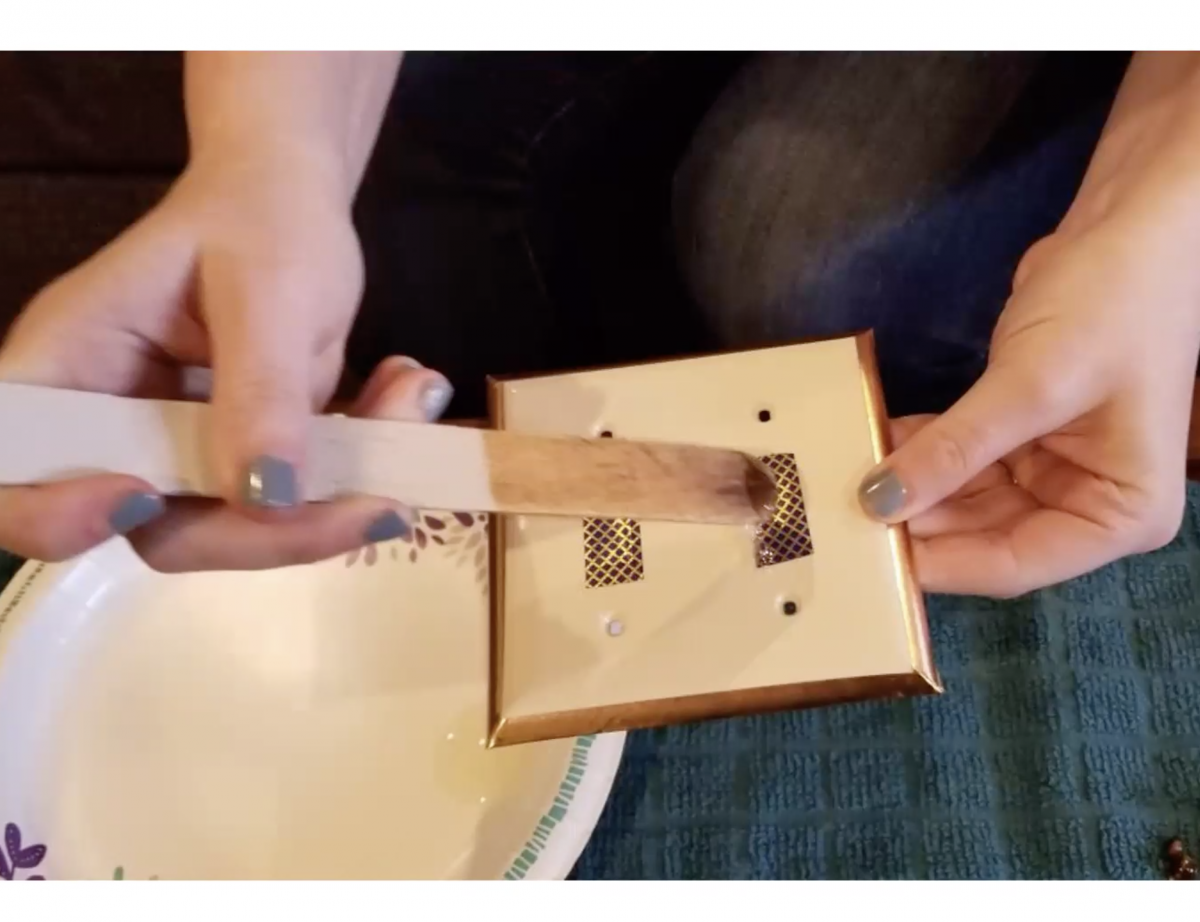
It can be helpful to place smaller or flatter beads close to the switch opening to help create a border.

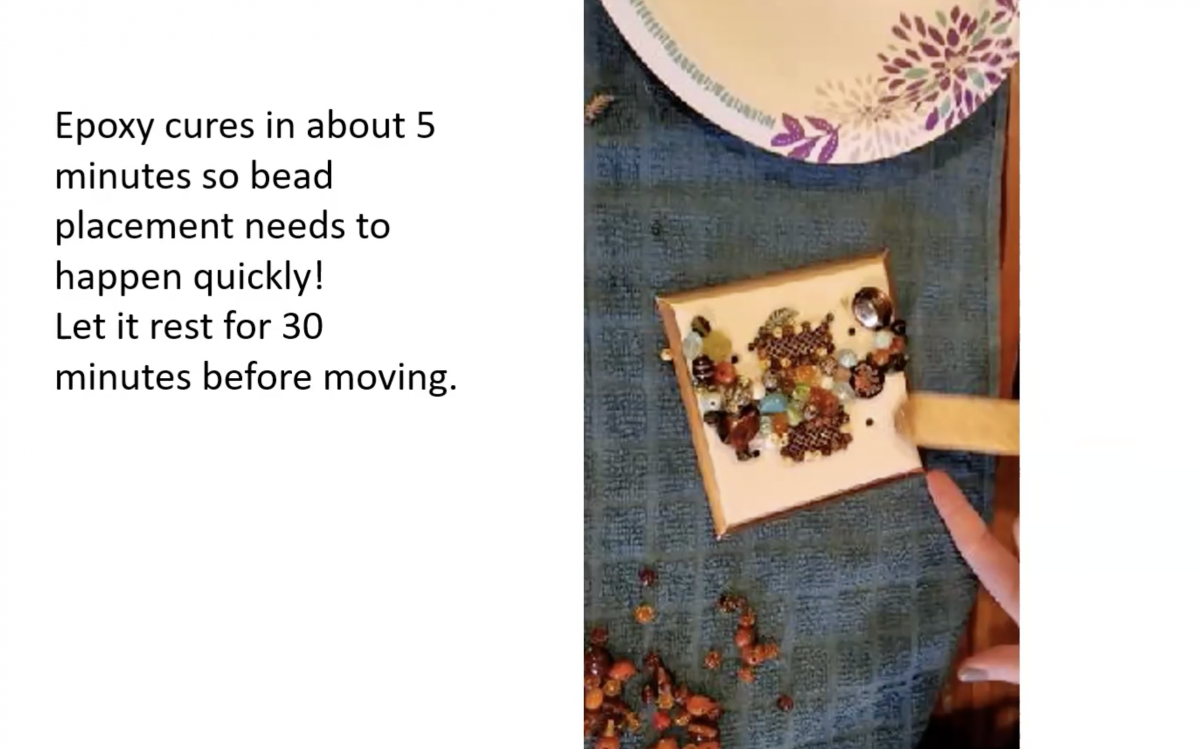
Continue gluing until all the space on your cover is filled with bright colorful beads! Allow the cover to dry at least 30 minutes before continuing to the next step.
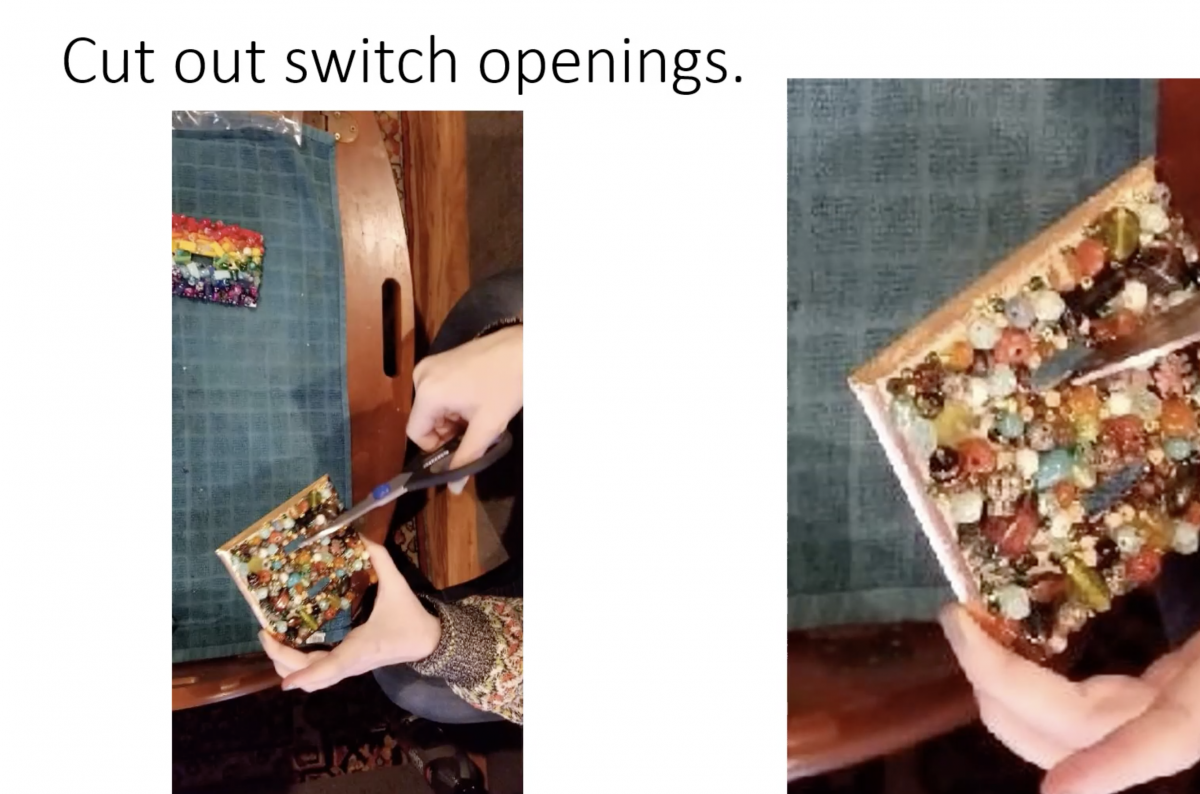
Step 5 - Cut Out Switch Openings
Once your cover is dry, use scissors to gently cut the Washi Tape away from the switch openings.
And you're done! Re-attach your cover to the light switch on your wall and enjoy!
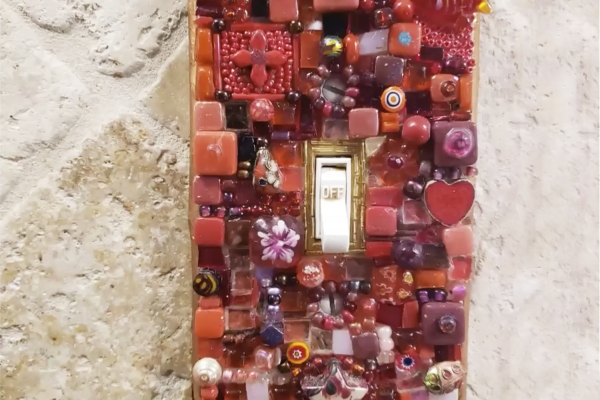
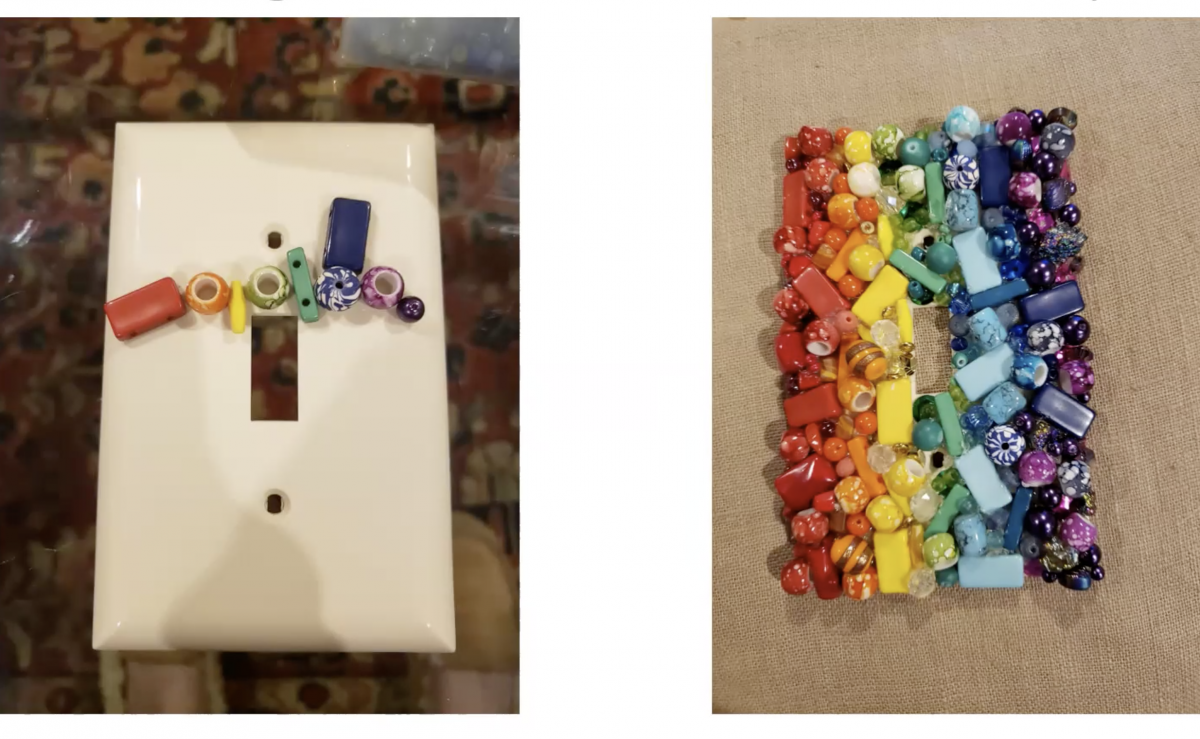
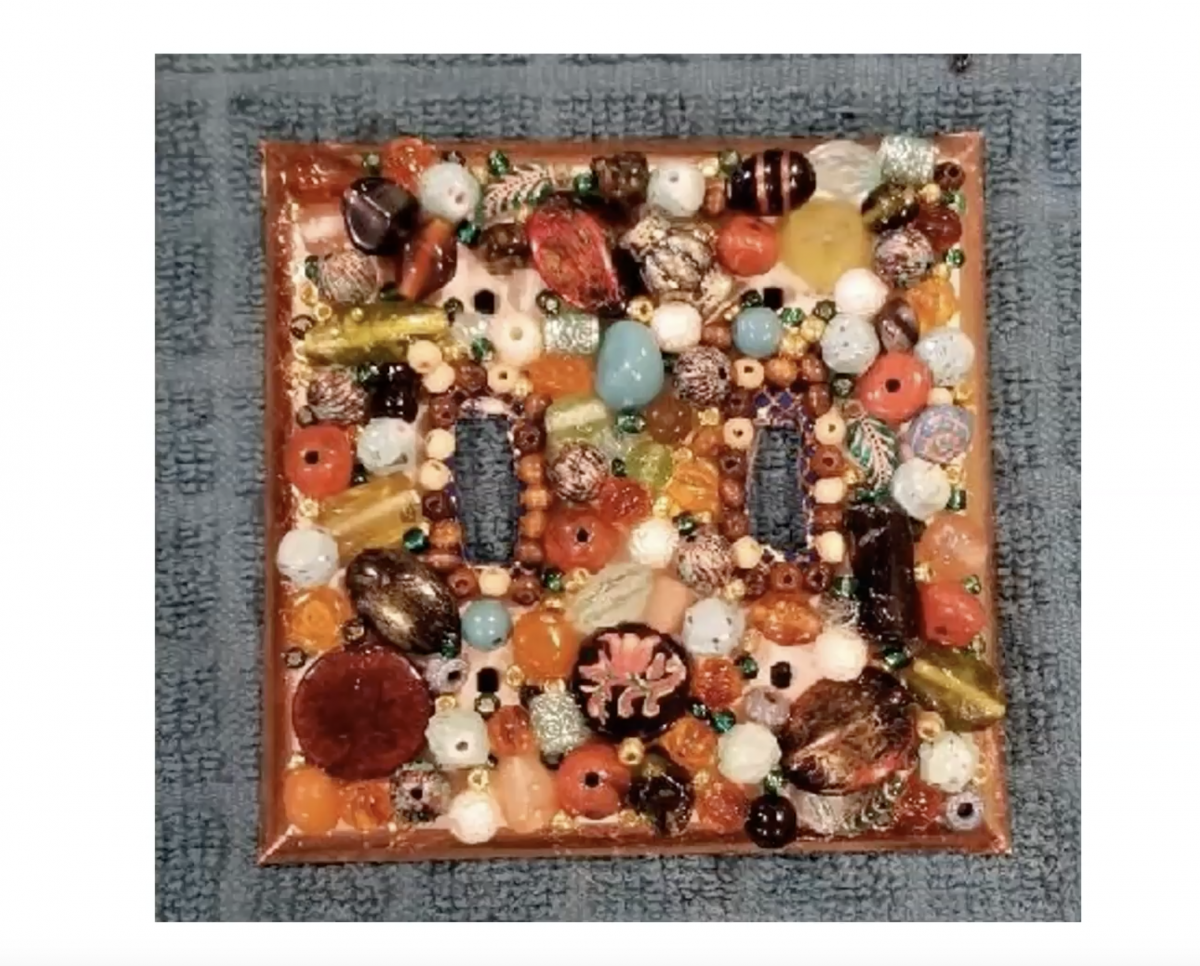
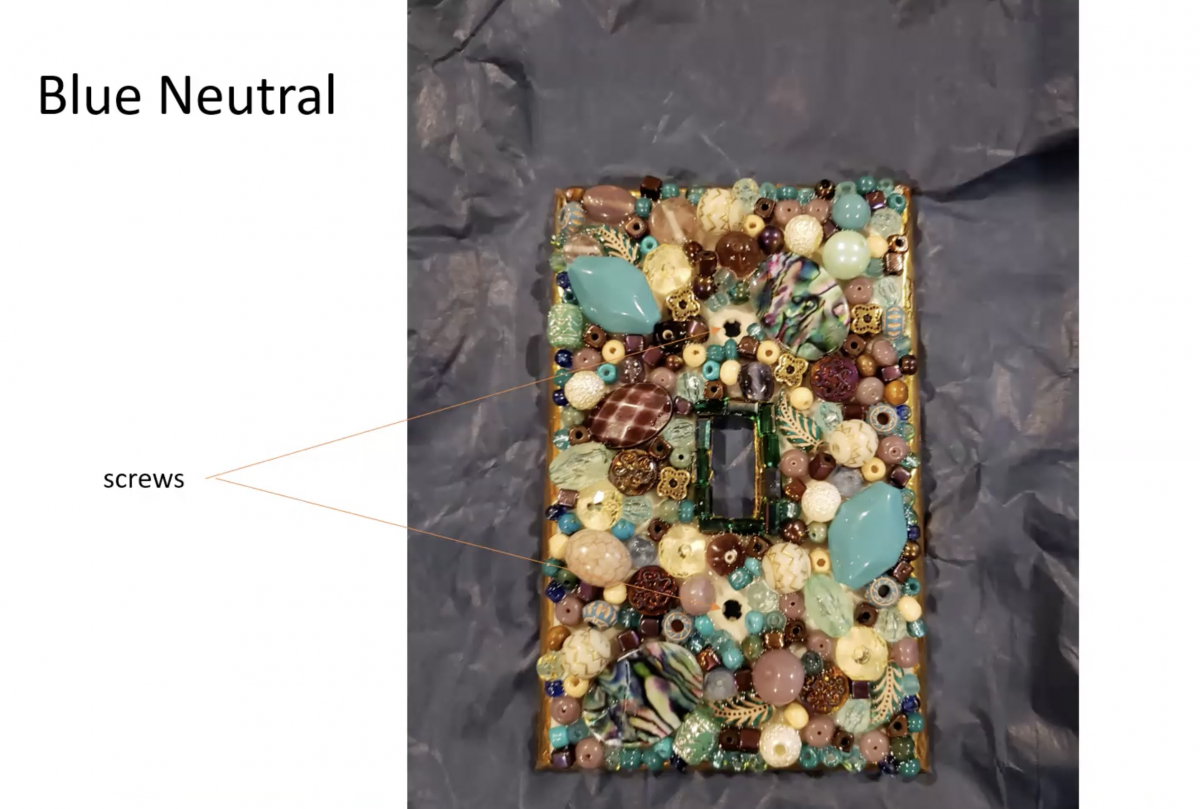
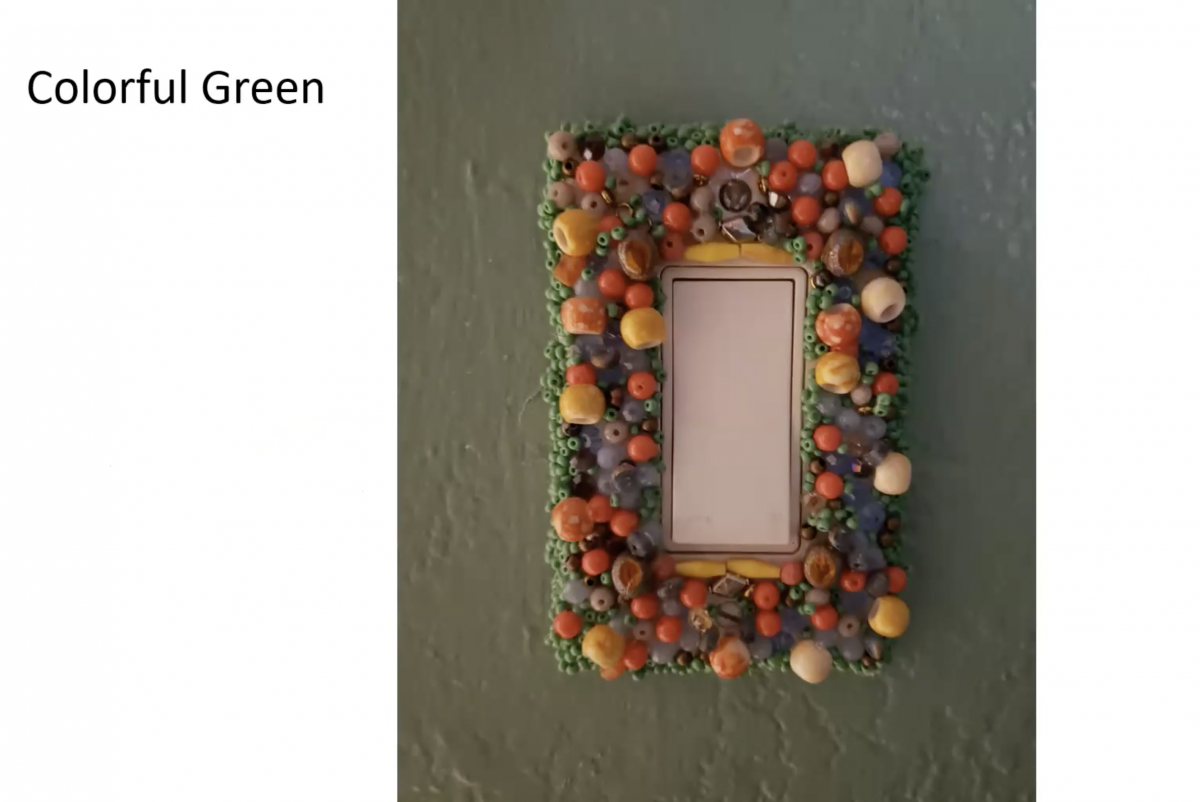
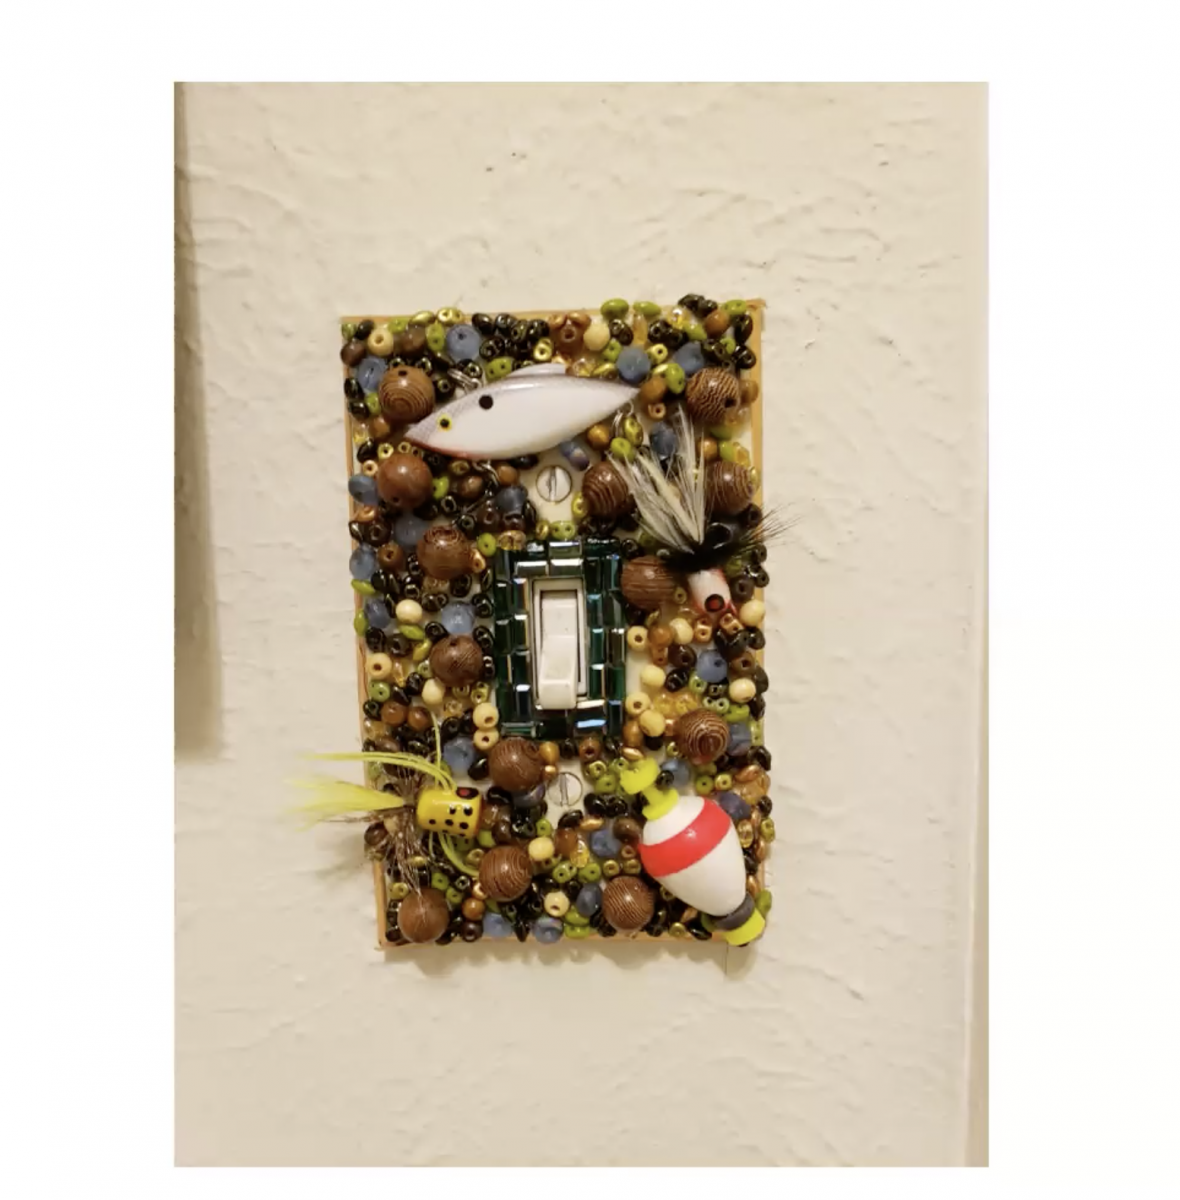
For some inspiration, here are some covers that Meagan created:
Thank you so much to Meagan for sharing this craft with us! Enjoy creating - we'd love to see any photos of the covers you make!
Join us next week for yet another fun-filled VTE via Zoom call. See you at 7:00pm EDT. Cheers!