
How to Digitize Old Photos & Videos
Like many people, Stan and Sandra found that they had accumulated large quantities of old photos, papers and films over the years, in numerous different formats. They used some of their free time over the past months to figure out the best way to convert these items to digital media files, enabling them to be more easily storeable, organized, and accessible with newer technology. They were kind enough to share their process with us, and we think you'll find the information quite helpful!
For a full recording of the VTE, check out the YouTube video!
Re-Recording Film
To convert film to a digital recording, the first part of the process is finding a dark corner in your house to set up a makeshift "film studio." Stan and Sandra used their bathroom - if you use a bathroom, make sure it doesn't have a window. This process can be used to convert 8mm and Super 8 film to digital files that can be stored on a phone or computer. To do this, you will need a mobile phone that has recording and video storage capabilities.
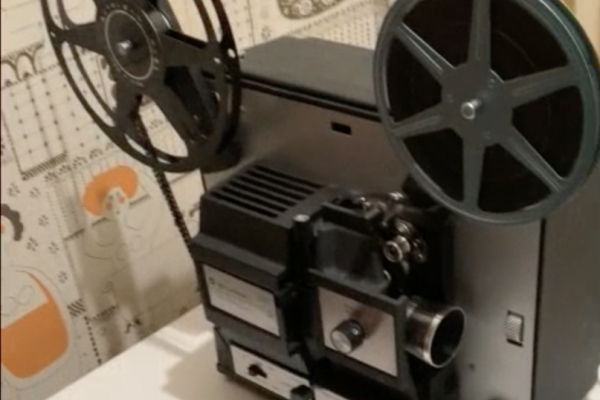
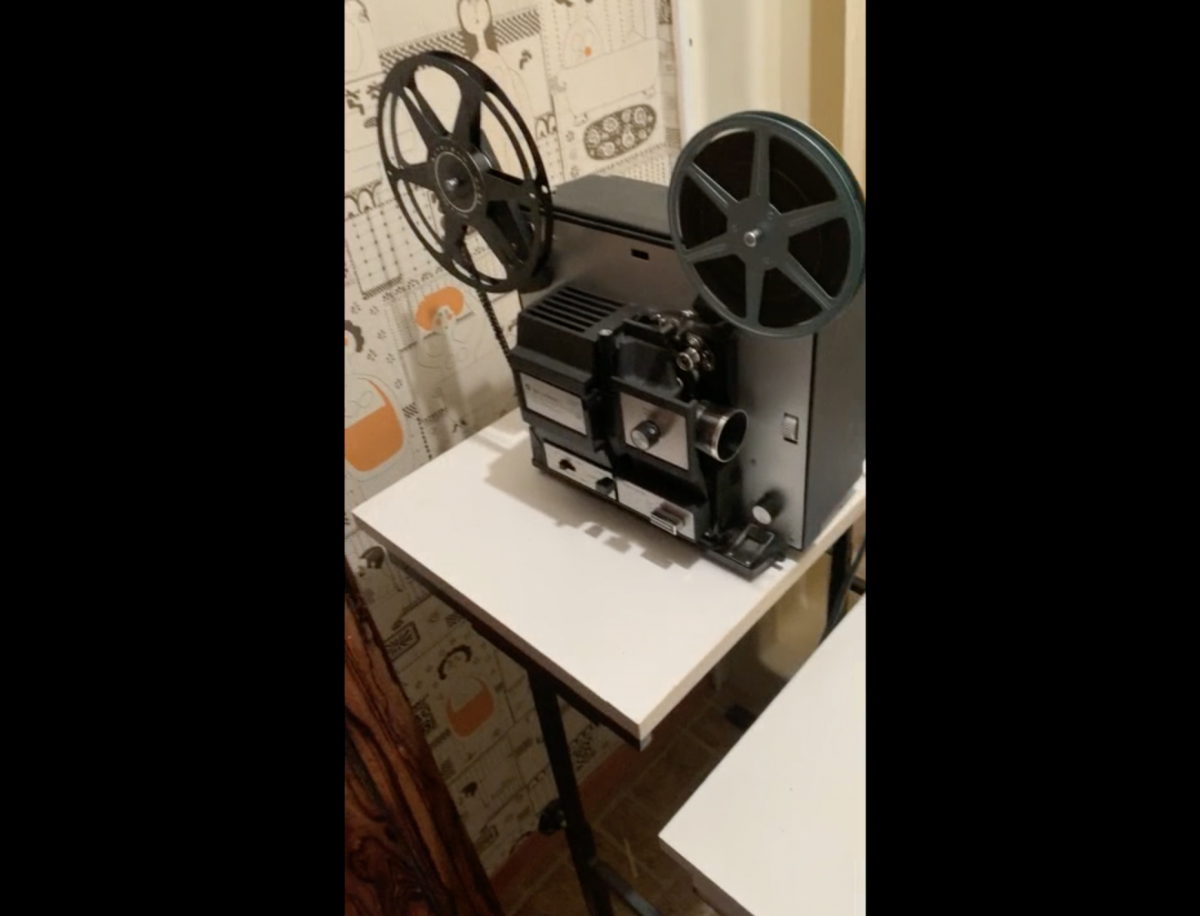
To start, set up your projector on a firm flat surface.
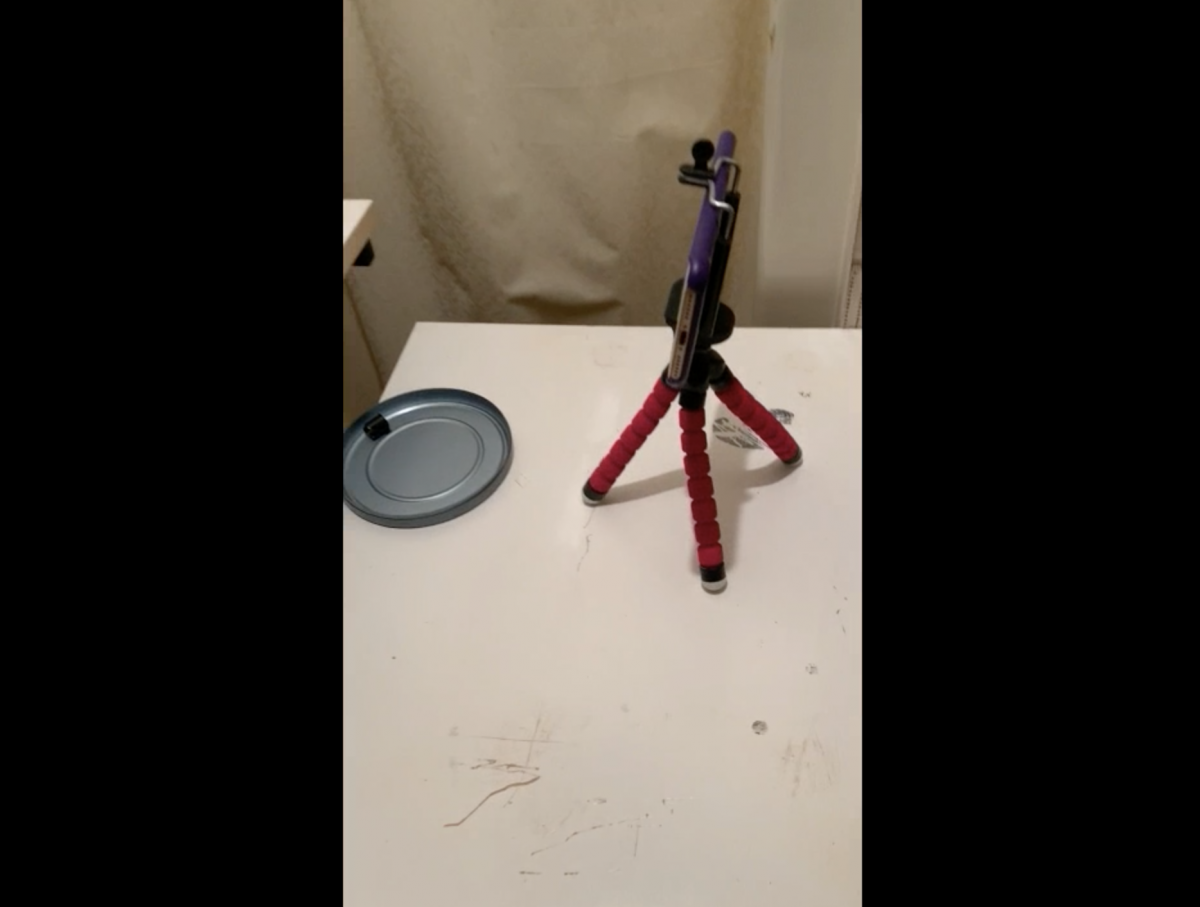
Then, set up your mobile phone on a small tripod to record.
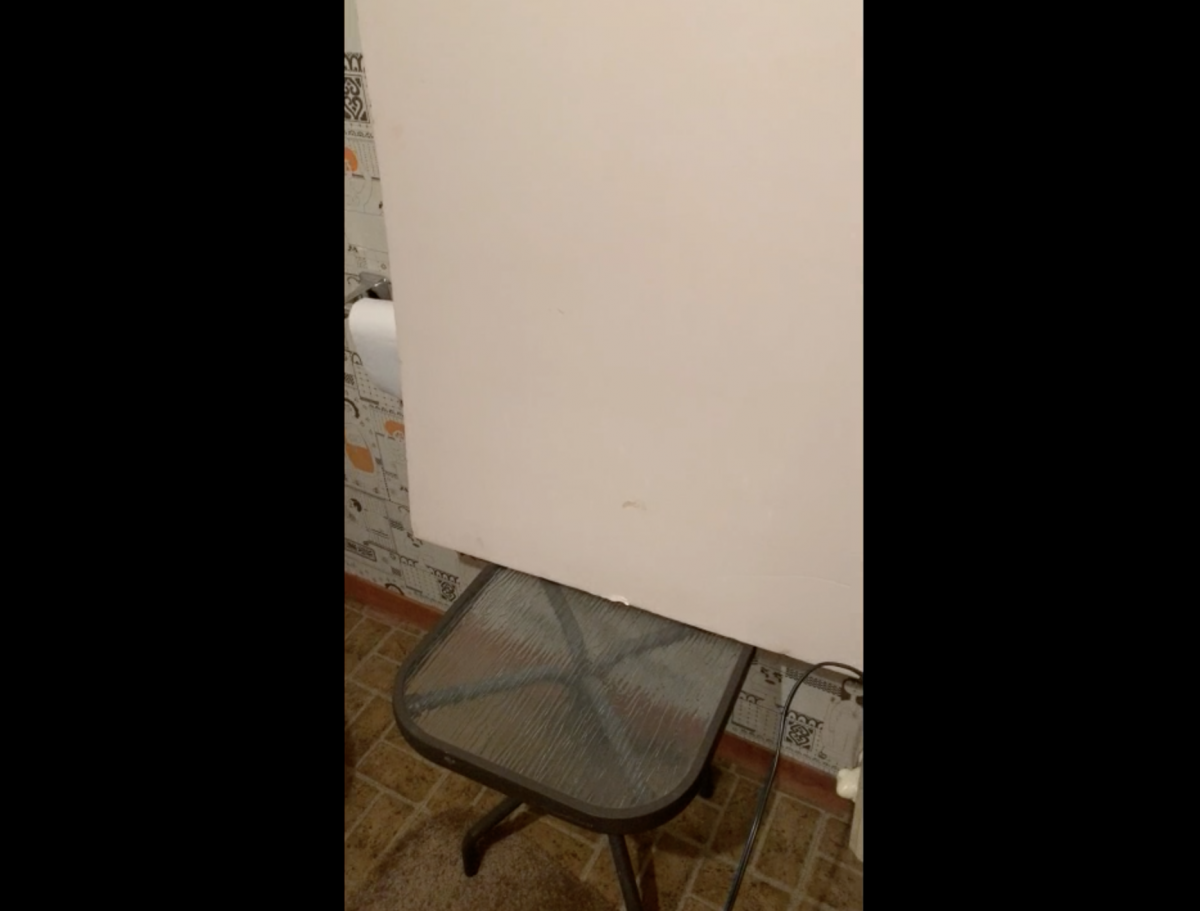
On the wall facing the projector, place a white board for the film to project onto.
With this setup, you can play the film with the projector while simultaneously recording the projection with your mobile device. When you are finished, you'll have those films recorded and stored as digital files on your phone, which can then be transferred to a computer if needed.
Converting VHS Tapes
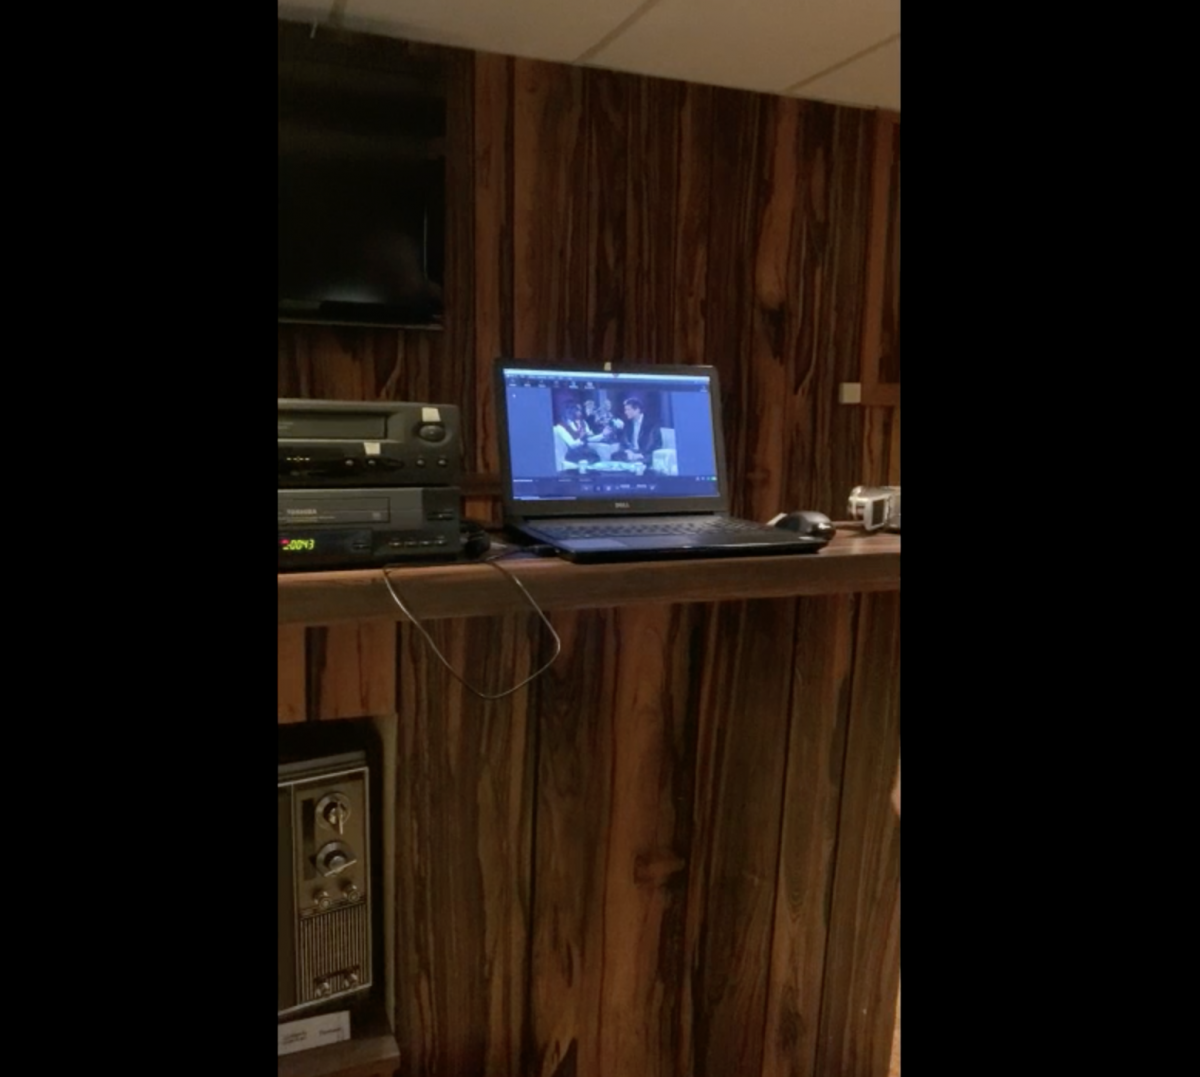
To convert VHS tapes, you will need a VCR, a laptop computer, and a digitizing cable. Stan used the UCEC All-In-One Video Capture device, which you can buy for about $30 on Amazon.
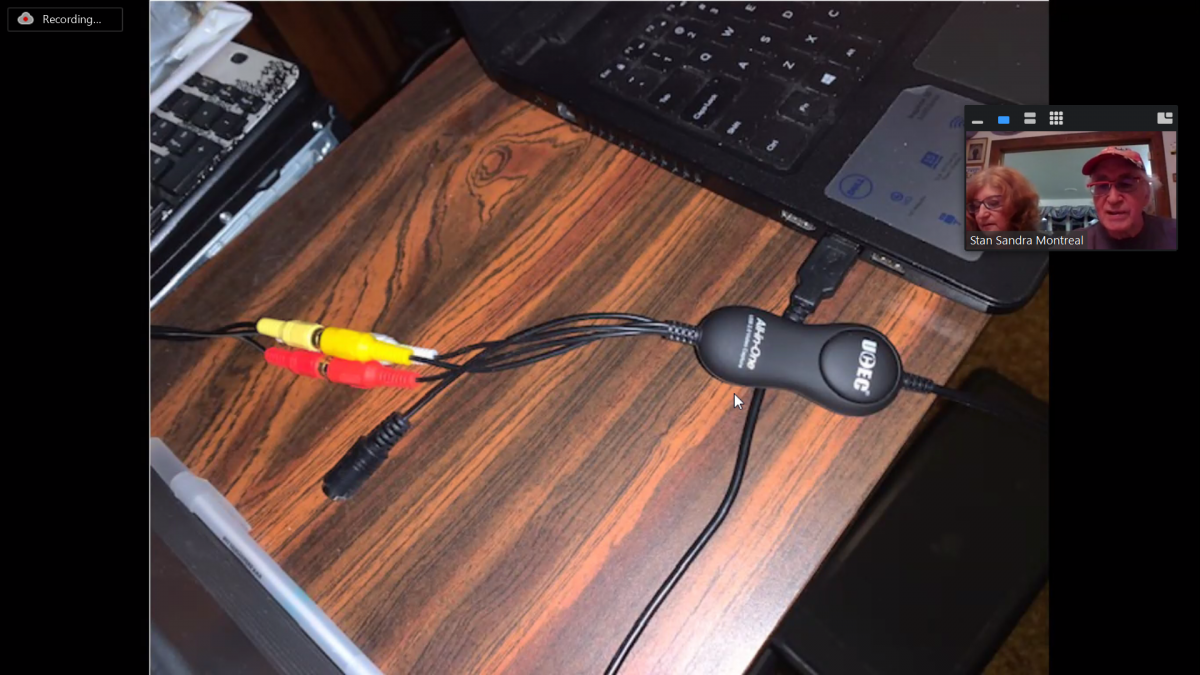
To use, simply plug the cable into your VCR and your laptop at the same time. Then, as you play your VHS tape, it will convert the video to an MP4 file on your computer.
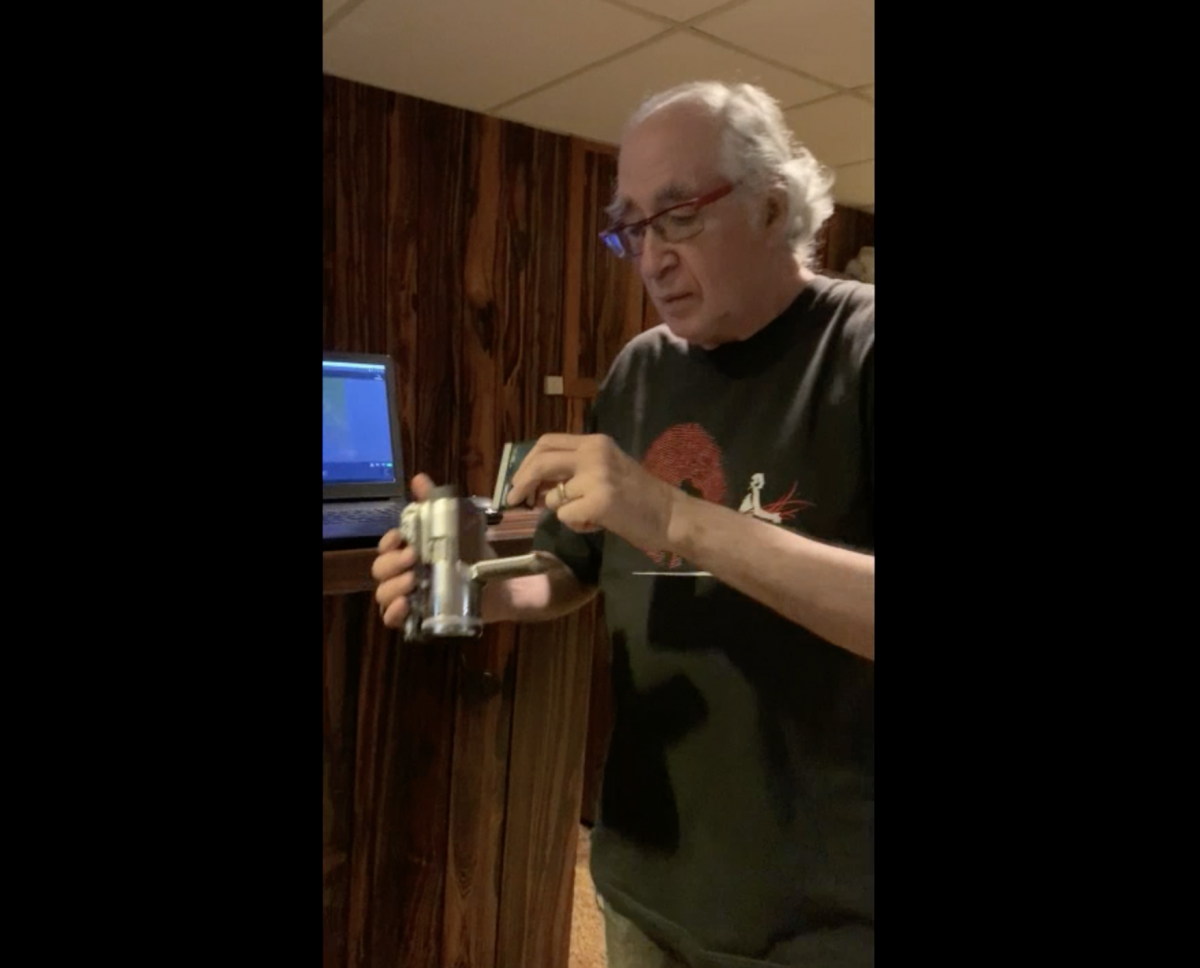
Also, if you have any mini tapes, you can plug those into a digital video camera, then plug the video camera into your laptop using a USB cable. This will allow you to convert your mini tapes to MP4 files on your computer as well.
Digitizing Printed Photos
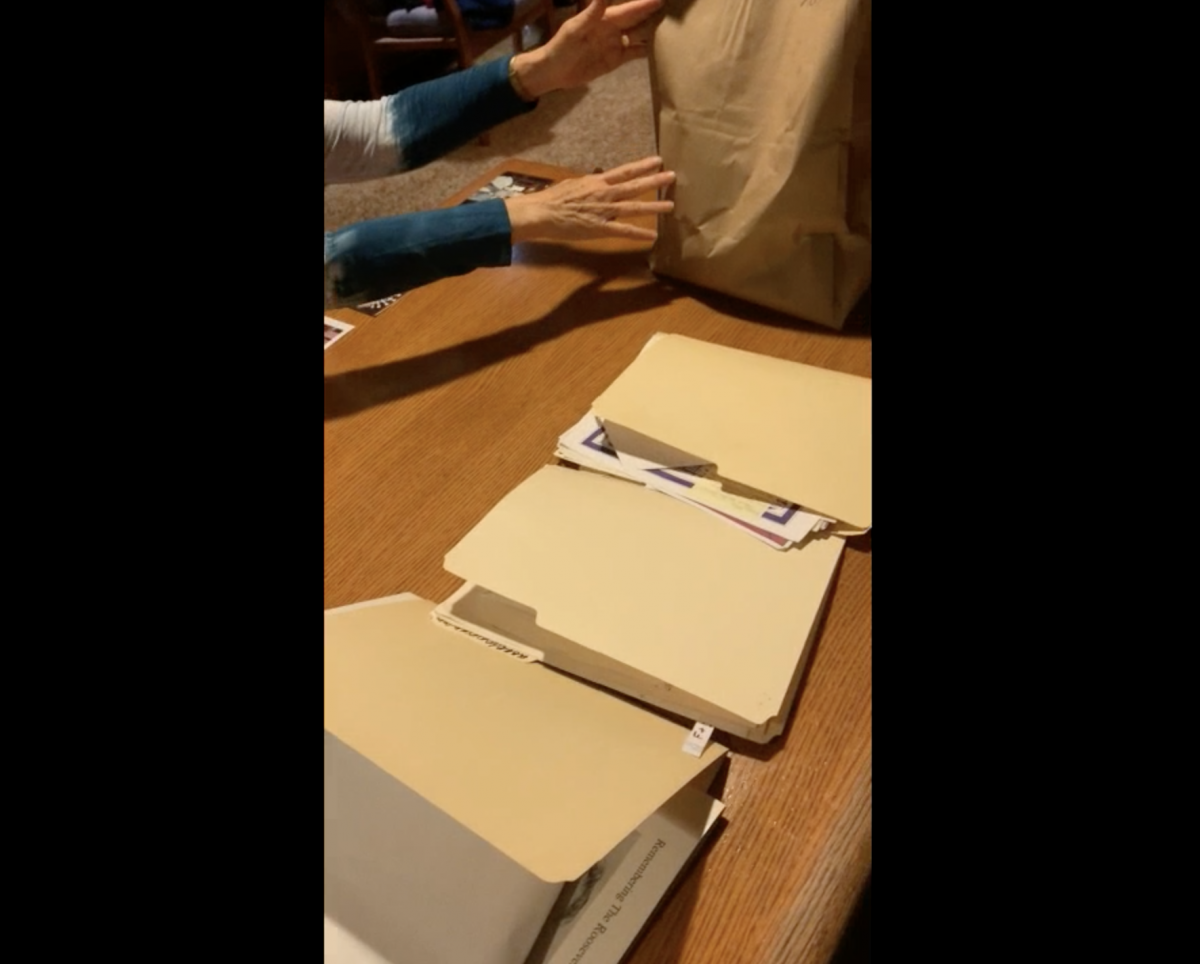
To digitize your old photos, the first thing Sandra did was to organize all photos by decade into bags or boxes. She then categorized those photos into separate folders and envelopes based on individual people, families, events, and holidays. It helps to sort these chronologically!
Then, take each individual photo and take a picture of it using the camera on your mobile phone. The photos will now have digital copies on your phone, which you can also transfer to store on multiple devices.

When you are done, if you have a "historian" in your family, you can pack up the organized folders of photos and give them to him or her.
Create Backups
Once you are done ditigizing all your photo and video files, be absolutely sure to create backups! You definitely don't want to lose these precious files. Here are some recommended places you can store backup file copies:

Stan and Sandra both really enjoyed this process of digitizing files, as it gave them the bonus opportunity to relive fun memories, and to see parts of each other's lives and families they hadn't before. Not only can it be a way to better organize, but it also provides a special time to share life experiences with those you love! Thank you again to Stan and Sandra, and if you try this for yourself, let us know how these methods work for you.
To see what else Stan and Sandra have been up to, check out our blog post on The Best Way to Drive I-95!
Join us next week for yet another fun-filled VTE via Zoom call. See you at 7:00pm EDT. Cheers!